Learn how to self-host Mealie, a modern recipe manager, on an Ubuntu 24.04 server. This comprehensive guide covers deployment with Docker, Nginx, and SSL.
What is Mealie?
Mealie stands out as a modern, feature-rich recipe manager with a beautiful user interface. Mealie offers a delightful way to organize recipes, plan meals, and even generate shopping lists. Its strength lies in its intuitive design, powerful recipe import capabilities (including web scraping), multi-user support, and an API for integrations. By leveraging Docker, we gain portability, consistency, and simplified management of the application and its dependencies.
Prerequisites
Before we begin, ensure we have the following:
- An Ubuntu 24.04 dedicate server or KVM VPS.
- Domain Name point A record to the server IP.
- Basic Linux Command Line Knowledge.
Deploy Mealie on Ubuntu 24.04 Using Docker
Step 1: Prepare Your Ubuntu Server
First, we need to ensure our server is up-to-date and has the necessary tools for Docker.
Update System Packages:
It's always a good practice to start by updating our system's package list and upgrading any existing packages to their latest versions.
sudo apt update && sudo apt upgrade -y
Step 2: Install Docker Engine
Docker is the foundation for our Mealie deployment. We'll install the official Docker Engine for the most stable and up-to-date version.
Set up Docker's apt repository.
Add Docker's official GPG key:
sudo apt-get update
sudo apt-get install ca-certificates curl
sudo install -m 0755 -d /etc/apt/keyrings
sudo curl -fsSL https://download.docker.com/linux/ubuntu/gpg -o /etc/apt/keyrings/docker.asc
sudo chmod a+r /etc/apt/keyrings/docker.asc
Add the repository to Apt sources:
echo \
  "deb [arch=$(dpkg --print-architecture) signed-by=/etc/apt/keyrings/docker.asc] https://download.docker.com/linux/ubuntu \
  $(. /etc/os-release && echo "${UBUNTU_CODENAME:-$VERSION_CODENAME}") stable" | \
  sudo tee /etc/apt/sources.list.d/docker.list > /dev/null
sudo apt-get update
To install the latest version, run:
sudo apt-get install docker-ce
Step 3: Set Up Mealie's Docker Compose Configuration
Docker Compose allows us to define and run multi-container Docker applications with a single command. Mealie is designed to work seamlessly with Docker Compose.
Create a Directory for Mealie:
We'll create a dedicated directory to store Mealie's configuration files and persistent data. We recommend /opt/mealie for this purpose.
mkdir mealie && cd mealie
Create the docker-compose.yml File:
This file will define our Mealie service. We'll use nano or your preferred text editor.
nano docker-compose.yml
Paste the following content into the file. This configuration uses SQLite for the database, which is suitable for most home users and simpler to set up. For larger deployments or if you require features like fuzzy search, you might consider PostgreSQL (Mealie provides a separate docker-compose.yml for that).
services:
  mealie:
    image: ghcr.io/mealie-recipes/mealie:latest
    container_name: mealie
    restart: always
    ports:
      - "9925:9000" # Host_Port:Container_Port. You can change 9925 to any available port.
    volumes:
      - mealie_data:/app/data # Persistent storage for Mealie data
    environment:
      # General Settings
      - TZ=Asia/Kolkata # Replace with your desired timezone, e.g., Europe/London, America/New_York
      - PUID=1000 # User ID for permissions (match your server user ID)
      - PGID=1000 # Group ID for permissions (match your server group ID)
      - ALLOW_SIGNUP=true # Set to false after initial user creation for security
      - BASE_URL=http://your-server-ip:9925 # Replace with your server's IP address or domain and port
      - API_DOCS=True # Enable API documentation (useful for developers)

      # Database Settings (for SQLite, these are generally sufficient)
      - DB_ENGINE=sqlite

      # Email Settings (Optional: Uncomment and configure for password resets, invitations)
      # - SMTP_HOST=your.smtp.host
      # - SMTP_PORT=587
      # - SMTP_FROM_NAME=Mealie
      # - SMTP_AUTH_STRATEGY=TLS
      # - SMTP_FROM_EMAIL=your@email.com
      # - SMTP_USER=your_smtp_username
      # - SMTP_PASSWORD=your_smtp_password

volumes:
  mealie_data: # Define the named volume for persistence
Step 4: Deploy Mealie
With our docker-compose.yml file ready, deploying Mealie is a single command.
Start Mealie Containers:
Navigate to the /opt/mealie directory (if you're not already there) and run:
docker compose up -d
Docker will download the Mealie image (if not already present) and start the container. This may take a few moments depending on your internet connection.
Verify Container Status:
You can check if your Mealie container is running using:
docker ps
You should see an entry for a container named mealie with status "Up".
Step 5: Install Nginx
Nginx is a high-performance web server and reverse proxy. We'll install it to act as a front-end for our Mealie application.
Install Nginx:
Nginx is available in the Ubuntu repositories.
sudo apt install nginx -y
Adjust Firewall (if UFW is active):
If you're using UFW (Uncomplicated Firewall), which is common on Ubuntu servers, we need to allow HTTP and HTTPS traffic.
sudo ufw allow 'Nginx Full'
Check if Nginx is running.
sudo systemctl status nginx
It should show active (running).
Create an Nginx Configuration File for Mealie:
We'll create a new server block configuration file. Replace example.com with your actual domain name or your server's public IP address.
sudo nano /etc/nginx/sites-available/mealie.conf
Paste the following content.
server {
    listen 80;
    listen [::]:80;
    server_name example.com;

    location / {
        proxy_pass http://localhost:9925; # Mealie's Docker exposed port
        proxy_set_header Host $host;
        proxy_set_header X-Real-IP $remote_addr;
        proxy_set_header X-Forwarded-For $proxy_add_x_forwarded_for;
        proxy_set_header X-Forwarded-Proto $scheme;
        proxy_read_timeout 900; # Increased timeout for larger uploads/imports
        client_max_body_size 0; # Allows unlimited file size uploads
    }
}
Enable the Nginx Configuration:
Create a symbolic link from sites-available to sites-enabled to activate the configuration.
sudo ln -s /etc/nginx/sites-available/mealie.conf /etc/nginx/sites-enabled/
Always test Nginx configuration for syntax errors before reloading.
sudo nginx -t
Apply the new configuration.
sudo systemctl reload nginx
Step 6: Install Certbot and Obtain SSL Certificate
Certbot is a free, open-source tool that automates the process of obtaining and renewing SSL certificates from Let's Encrypt.
sudo apt install certbot python3-certbot-nginx -y
Obtain SSL Certificate:
sudo certbot --nginx -d example.com
Final Test
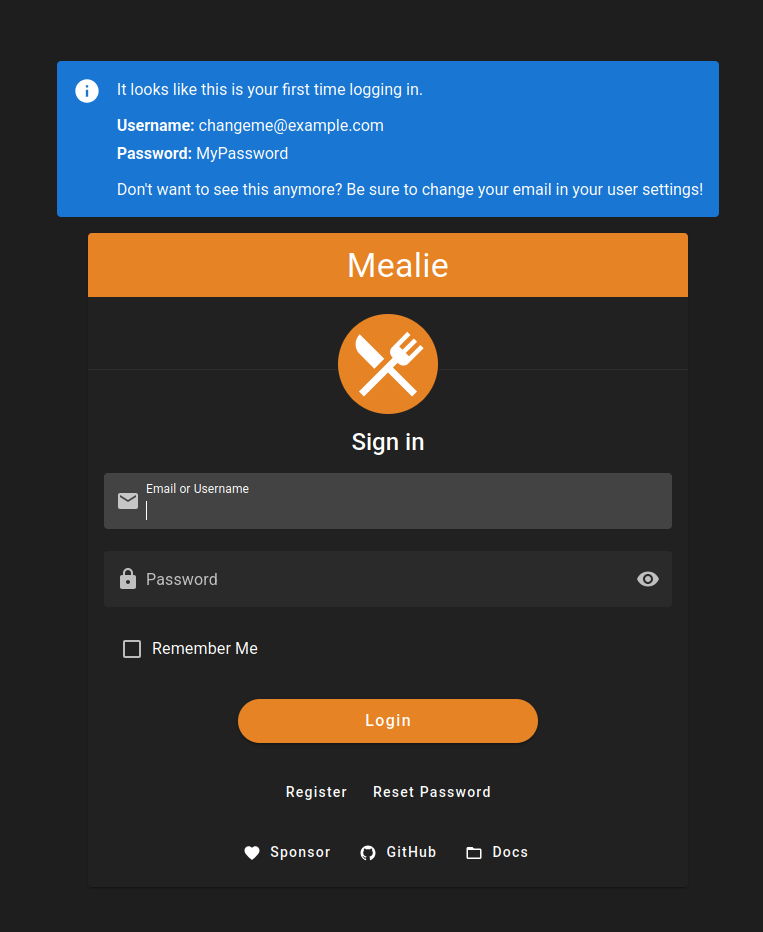
Now, open your web browser and navigate to https://example.com.

Conclusion
By following this step-by-step guide, we've successfully deployed Mealie on an Ubuntu 24.04 server using Docker Compose. We now have a powerful, self-hosted recipe management system at our fingertips, offering a modern and intuitive way to organize our culinary world.
The beauty of this Dockerized setup is its simplicity for updates and maintenance, ensuring our Mealie instance remains a reliable companion in the kitchen for years to come. Enjoy managing your recipes and planning delicious meals!

