
In this tutorial, we'll learn how to install Mattermost on Rocky Linux 10 server.
Mattermost is an open-source, self-hosted messaging platform that empowers teams with secure, private, and flexible communication offering a robust alternative to cloud-based tools.
Below is a detailed, step-by-step guide to installing Mattermost on Rocky Linux 10 using PostgreSQL as your database backend. This guide covers installing PostgreSQL, creating a dedicated database and user for Mattermost, configuring Mattermost to use PostgreSQL, setting up an Nginx reverse proxy, and securing your installation with SSL via Certbot.
Prerequisites
Before you begin, make sure that:
- A Rocky Linux 10 installed dedicated server or KVM VPS.
- Your DNS is set up so that your domain (for example, mattermost.example.com) points to your server.
- You have sudo privileges.
- You have basic familiarity with the Linux command line.
How to Install Mattermost on Rocky Linux 10 with Nginx and PostgreSQL database
Step 1: System preparation
sudo dnf -y update
sudo reboot
After reboot:
sudo dnf -y install wget tar nano policycoreutils-python-utils firewalld
Step 2: Firewall configuration
sudo systemctl enable --now firewalld

sudo firewall-cmd --permanent --add-service=http
sudo firewall-cmd --permanent --add-service=https
sudo firewall-cmd --reload
Step 3: Install PostgreSQL 17
sudo dnf install -y https://download.postgresql.org/pub/repos/yum/reporpms/EL-10-x86_64/pgdg-redhat-repo-latest.noarch.rpm
sudo dnf -y install postgresql17-server
sudo /usr/pgsql-17/bin/postgresql-17-setup initdb
sudo systemctl enable --now postgresql-17
Step 4: Create database and user
sudo -u postgres psql

CREATE DATABASE mattermost
  WITH ENCODING 'UTF8'
  LC_COLLATE='en_US.UTF-8'
  LC_CTYPE='en_US.UTF-8'
  TEMPLATE=template0;

CREATE USER mmuser WITH PASSWORD 'StrongPasswordHere';
ALTER DATABASE mattermost OWNER TO mmuser;
GRANT ALL PRIVILEGES ON DATABASE mattermost TO mmuser;

\q
Fix schema ownership:
sudo -u postgres psql mattermost

ALTER SCHEMA public OWNER TO mmuser;
REVOKE ALL ON SCHEMA public FROM PUBLIC;
GRANT ALL ON SCHEMA public TO mmuser;

ALTER DEFAULT PRIVILEGES IN SCHEMA public GRANT ALL ON TABLES TO mmuser;
ALTER DEFAULT PRIVILEGES IN SCHEMA public GRANT ALL ON SEQUENCES TO mmuser;
ALTER DEFAULT PRIVILEGES IN SCHEMA public GRANT ALL ON FUNCTIONS TO mmuser;

\q
Step 5: Install Mattermost
cd /tmp
wget https://releases.mattermost.com/11.2.1/mattermost-11.2.1-linux-amd64.tar.gz
tar -xzf mattermost-11.2.1-linux-amd64.tar.gz
sudo mv mattermost /opt/mattermost
sudo mkdir -p /opt/mattermost/data /opt/mattermost/client/plugins
sudo useradd --system --user-group block
sudo chown -R block:block /opt/mattermost
sudo chmod +x /opt/mattermost/bin/mattermost
Step 6: Configure Mattermost
sudo nano /opt/mattermost/config/config.json
Edit:
"ServiceSettings": {
  "SiteURL": "https://chat.example.com",
  "ListenAddress": "127.0.0.1:8065"
},
"SqlSettings": {
  "DriverName": "postgres",
  "DataSource": "postgres://mmuser:StrongPasswordHere@127.0.0.1:5432/mattermost?sslmode=disable&connect_timeout=10"
}
Step 7: SELinux fixes (mandatory on Rocky Linux 10)
sudo semanage fcontext -a -t bin_t "/opt/mattermost/bin(/.*)?"
sudo restorecon -Rv /opt/mattermost

sudo setsebool -P httpd_can_network_connect on
This prevents systemd 203/EXEC failures and allows Nginx to proxy to Mattermost.
Step 8: systemd service
sudo nano /usr/lib/systemd/system/mattermost.service
Add following content:
[Unit]
Description=Mattermost
After=network.target postgresql-17.service
BindsTo=postgresql-17.service

[Service]
Type=simple
User=block
Group=block
WorkingDirectory=/opt/mattermost
ExecStart=/opt/mattermost/bin/mattermost
Restart=always
RestartSec=10
LimitNOFILE=49152

[Install]
WantedBy=multi-user.target
Reload systemd:
sudo systemctl daemon-reexec
sudo systemctl daemon-reload
Start and enable Mattermost service
sudo systemctl enable --now mattermost
Step 9: Install and configure Nginx
sudo dnf -y install nginx
sudo systemctl enable --now nginx
Create Nginx configuration file for Mattermost website:
sudo nano /etc/nginx/conf.d/mattermost.conf
Add following content:
upstream mattermost_backend {
    server 127.0.0.1:8065;
}

server {
    listen 80;
    server_name chat.example.com;

    location / {
        proxy_set_header Host $host;
        proxy_set_header X-Real-IP $remote_addr;
        proxy_set_header X-Forwarded-For $proxy_add_x_forwarded_for;
        proxy_set_header X-Forwarded-Proto $scheme;
        proxy_set_header Upgrade $http_upgrade;
        proxy_set_header Connection "upgrade";
        proxy_http_version 1.1;
        proxy_pass http://mattermost_backend;
    }
}
Test and reload Nginx service:
sudo nginx -t
sudo systemctl reload nginx
Step 10: Enable HTTPS with Let’s Encrypt
Install Certbot:
sudo dnf -y install epel-release certbot python3-certbot-nginx
Obtain SSL certificate:
sudo certbot --nginx -d chat.example.com -m admin@chat.example.com --agree-tos --redirect
Step 11: Access Mattermost
Open:
https://chat.example.com
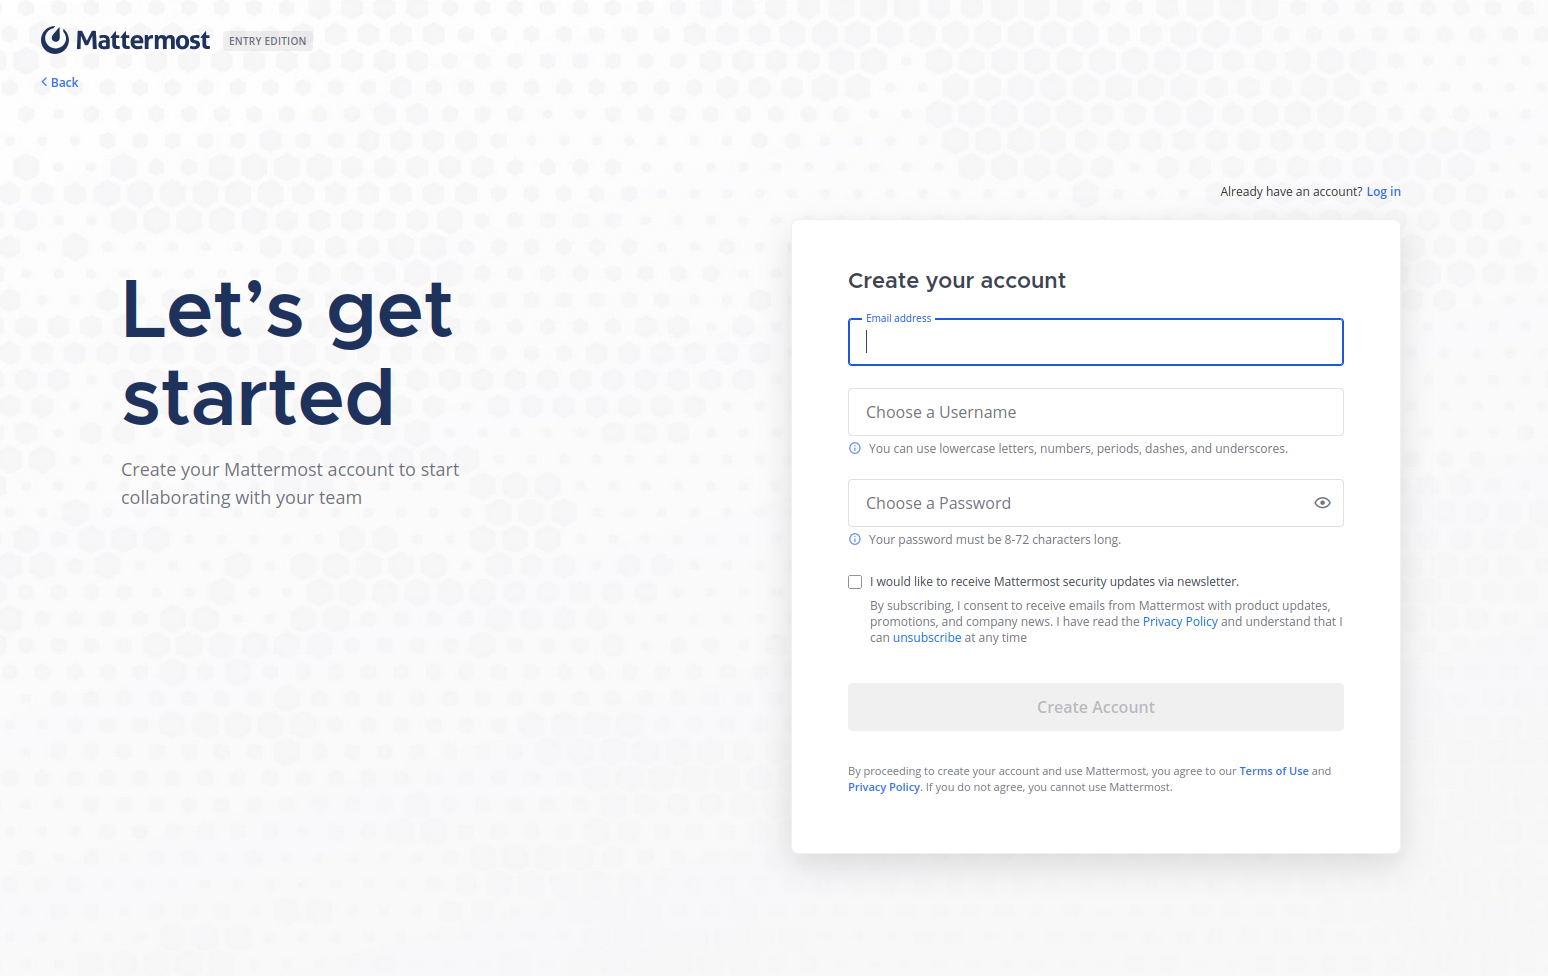
Complete the admin wizard.
Step 12: Health checks
sudo systemctl status mattermost --no-pager
sudo journalctl -u mattermost -n 50 --no-pager
Troubleshooting: If you experience issues:
- Check Mattermost logs at /opt/mattermost/logs/.
- Use sudo journalctl -u mattermost to view service logs.
- Verify PostgreSQL connectivity and user privileges if database errors occur.
Conclusion
In this tutorial, we've learnt how to install Mattermost on Rocky Linux 10 server using PostgreSQL as your database backend. With Mattermost running as a system service, Nginx acting as a reverse proxy, and SSL provided by Certbot, your team communication platform is secure, efficient, and self-hosted.
This setup gives you the control and privacy benefits over cloud-based solutions while offering the flexibility to customize your environment to your needs.
