
In this tutorial, we'll learn to install Froxlor free hosting panel on Ubuntu 22.04 server. We will use Nginx as the web server, MariaDB as the database, and Certbot for SSL certificates.
Introduction
Froxlor is an open-source web hosting control panel that enables you to manage multiple domains, FTP accounts, email accounts, and other hosting services from a graphical interface. It’s a practical solution when you’re hosting multiple websites or want to give clients their own login to manage their hosting.
Prerequisites:
Before proceeding, make sure you have the following in place:
- A Fresh Ubuntu 22.04 dedicated server or KVM VPS.
- Root or Sudo Privileges: You should have sudo privileges to install packages and make system-wide changes.
Install Froxlor Free Hosting Panel on Ubuntu
Step 1: Update and Upgrade Your System
Before starting, make sure your system is up to date:
sudo apt update
sudo apt upgrade -y
Restart the server if any kernel or major system updates were installed (sometimes not strictly necessary, but it’s a good practice after significant updates):
sudo reboot
By ensuring your system is current, you minimize security vulnerabilities and compatibility issues.
Step 2: Install Nginx
We’ll use Nginx as our web server. It’s known for its high performance and low resource usage.
Install Nginx:
sudo apt install nginx -y
Enable and start the Nginx service:
sudo systemctl enable nginx
sudo systemctl start nginx
Allow HTTP and HTTPS through the firewall (if Ubuntu’s UFW firewall is enabled):
sudo ufw allow 'Nginx Full'
Verify that Nginx is running correctly:
systemctl status nginx
You should see an “active (running)” status in the output.
Step 3: Install MariaDB
MariaDB is a powerful, community-developed drop-in replacement for MySQL. We’ll use it for Froxlor’s database.
Install MariaDB:
sudo apt install mariadb-server mariadb-client -y
Enable and start the MariaDB service:
sudo systemctl enable mariadb
sudo systemctl start mariadb
Secure your MariaDB installation:
sudo mysql_secure_installation
When prompted, enter a strong root password.
You can answer “Y” to all the security questions, which typically involves removing anonymous users, disallowing remote root login, removing test databases, and reloading privileges.
Step 4: Create a Database and User for Froxlor
Froxlor will need its own database and user.
Log in to MariaDB as the root user:
sudo mysql -u root -p
Create a database user (replace froxroot and CHANGEM3 with your preferred username and a strong password):
CREATE USER 'froxroot'@'localhost' IDENTIFIED BY 'CHANGEM3';
Grant the user all privileges on the Froxlor database:
GRANT ALL PRIVILEGES ON *.* TO 'froxroot'@'localhost' WITH GRANT OPTION;
FLUSH PRIVILEGES;
EXIT;
Step 5: Install PHP and Required Extensions
Froxlor depends on PHP and several PHP extensions. We’ll install these to ensure compatibility.
Install PHP 8.3 (or whichever is the default on Ubuntu 22.04) and common modules:
sudo apt install php-cli php-fpm php-curl php-mysql php-gd php-mbstring php-xml php-zip php-bcmath php-xmlrpc php-gmp php-gnupg -y
Check the installed PHP version to confirm:
php -v
Adjust PHP settings if needed. For example, to increase upload size limits, edit your php.ini file (often located at /etc/php/8.3/fpm/php.ini or /etc/php/8.3/cli/php.ini) and update parameters like:
nano /etc/php/8.3/fpm/php.ini
Make following changes:
upload_max_filesize = 50M
post_max_size = 50M
max_execution_time = 300
After making changes, restart PHP-FPM:
sudo systemctl restart php8.3-fpm
Step 6: Download and Install Froxlor
Navigate to the web root directory (commonly /var/www):
cd /var/www
Download the latest Froxlor release (replace the URL below with the latest URL from Froxlor’s official releases):
wget https://github.com/froxlor/Froxlor/releases/download/2.2.5/froxlor-2.2.5.tar.gz -O froxlor.tar.gz
Extract the archive:
sudo tar -xzf froxlor.tar.gz
Set proper ownership for Nginx to access these files:
sudo chown -R www-data:www-data /var/www/froxlor
Step 7: Configure Nginx for Froxlor
Create a new Nginx server block file for Froxlor. For example:
sudo nano /etc/nginx/sites-available/froxlor.conf
Paste the following configuration (replace example.com with your actual domain):
server {
    listen 80;
    server_name example.com www.example.com;

    root /var/www/froxlor;
    index index.php index.html index.htm;

    location / {
        try_files $uri $uri/ /index.php?$args;
    }

    location ~ \.php$ {
        include snippets/fastcgi-php.conf;
        fastcgi_pass unix:/run/php/php-fpm.sock;
        fastcgi_param SCRIPT_FILENAME $document_root$fastcgi_script_name;
    }

    location ~ /\.ht {
        deny all;
    }
}
Enable the new server block by creating a symlink:
sudo ln -s /etc/nginx/sites-available/froxlor.conf /etc/nginx/sites-enabled/
Test Nginx’s configuration:
sudo nginx -t
If there are no errors, reload Nginx:
sudo systemctl reload nginx
Step 8: Install Certbot for SSL Certificates
An SSL certificate will help secure connections to your Froxlor panel and any hosted websites. Let’s use Let’s Encrypt with Certbot.
Install Certbot and the Nginx plugin:
sudo apt install certbot python3-certbot-nginx -y
Obtain an SSL certificate for your domain:
sudo certbot --nginx -d example.com -d www.example.com
- When prompted, enter your email address for Let’s Encrypt notifications.
- Agree to the terms of service.
- Certbot will automatically configure Nginx to use SSL.
Test the certificate auto-renewal:
sudo certbot renew --dry-run
This command simulates the renewal process, ensuring that it will work correctly when the certificate is about to expire.
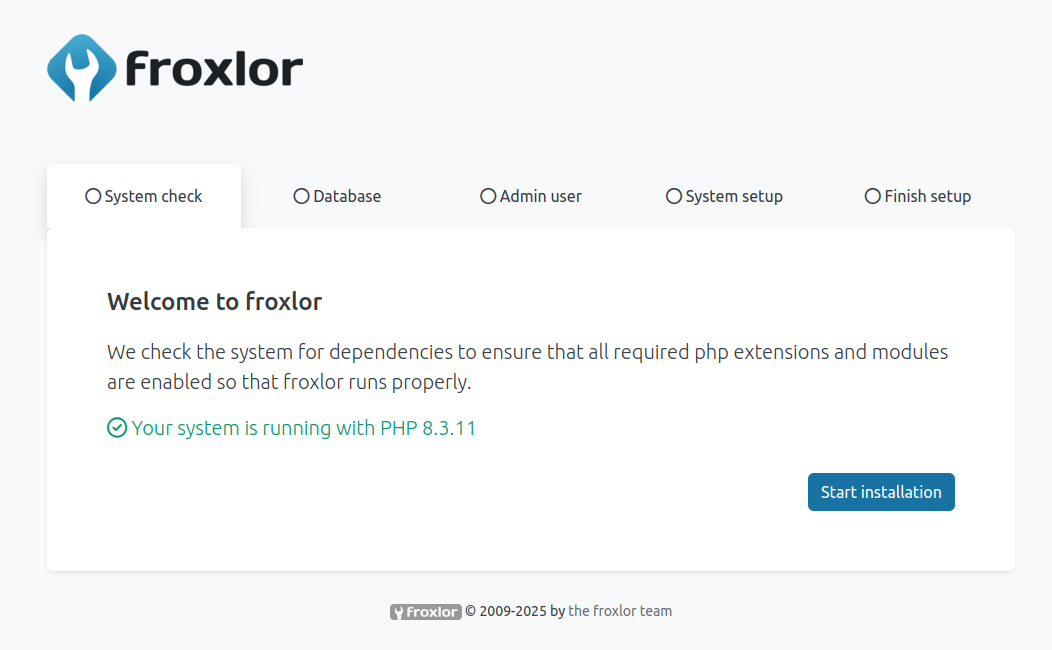
Step 9: Complete Froxlor Web Installation
With the basic web server settings in place, you can now run Froxlor’s installation wizard in your browser.
Open a web browser and go to https://example.com (replace with your actual domain).

The Froxlor setup wizard will appear. It will prompt you for:
In database use following credentails. (Replace with your credientials)
Database host: localhost
Database name: froxlor
Database user: froxroot
Database password: CHANGEM3
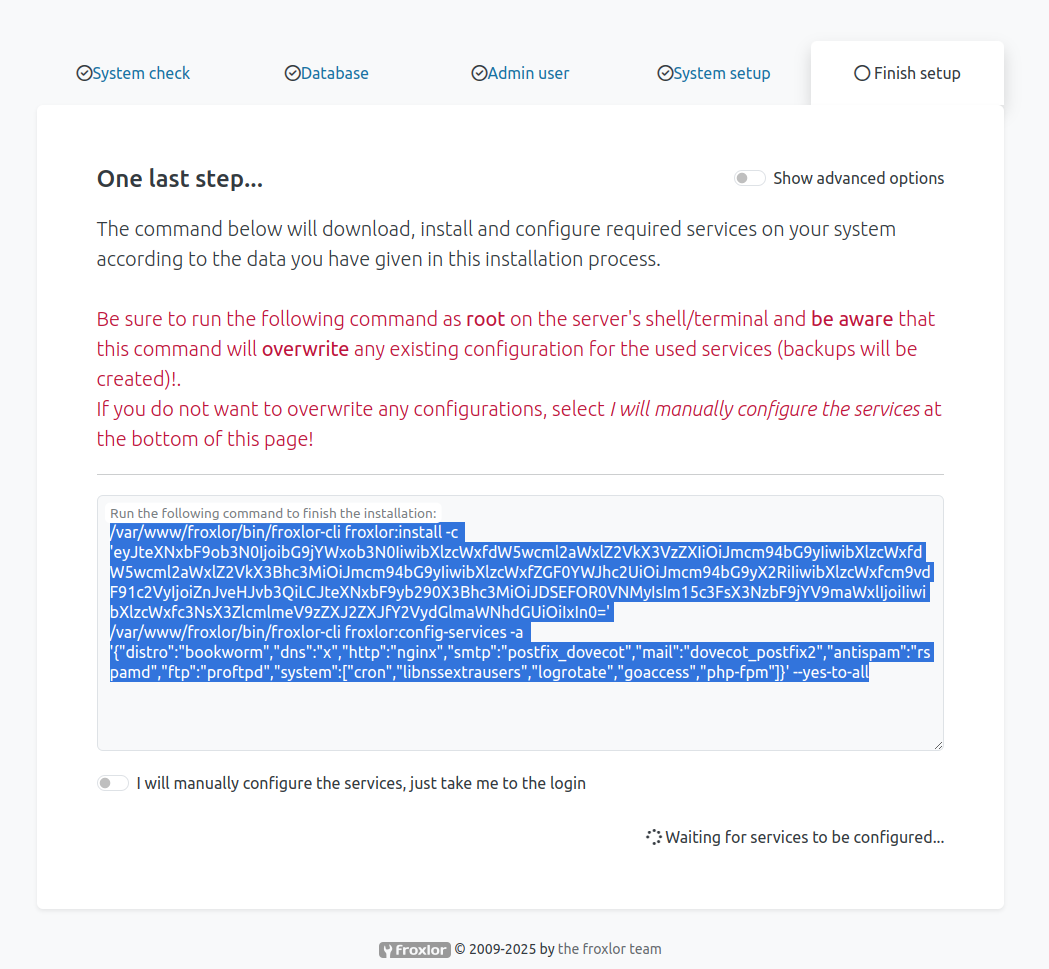
The installer will check the availability of required PHP modules and file permissions.
Create an admin account when asked. This account will allow you to manage Froxlor.
After completing the steps, Froxlor will finalize its configuration files.
Now that you have an SSL certificate, you can access Froxlor with https://example.com.
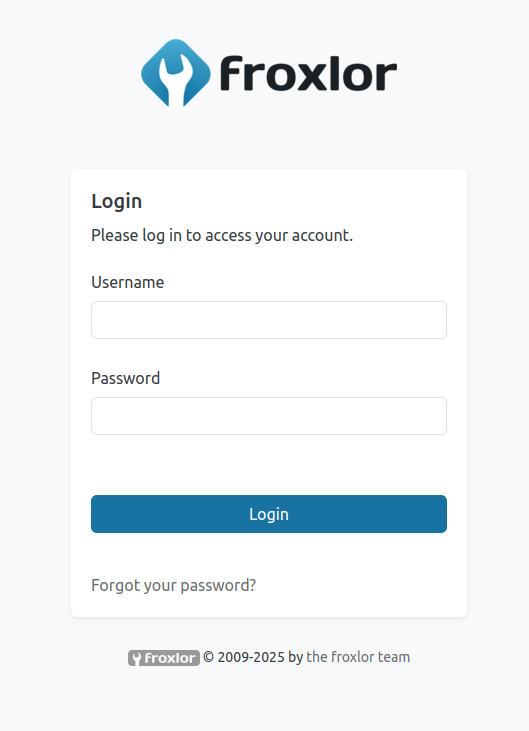
Your credentials are the ones you set up during the installation wizard.
Once you log in, you’ll land on the Froxlor dashboard, where you can manage multiple domains, users, DNS settings, email accounts, and more.
Step 10: Configure Froxlor for Multi-User Hosting
With Froxlor installed and secured, you can now configure your server for multi-user hosting.
Add new customers or users:
- In Froxlor’s left-hand menu, go to Customers → Add customer.
- Assign a username, password, and specify the resources (e.g., disk space, domain allowance) for that customer.
Assign domains to each customer:
- Navigate to Domains → Add new domain.
- You can decide which customer the domain belongs to and set domain-specific PHP settings, docroot paths, etc.
Set up email accounts (optional, if you plan to handle email on this server):
- Under Email → Add email account, select the customer and domain.
- Configure mailbox quota, passwords, and spam settings if needed.
Configure FTP accounts:
- Under FTP → Add FTP account.
- Associate it with a user/customer and specify the directory that user can access.
Enable Let’s Encrypt within Froxlor (if you want Froxlor to handle additional SSL certificates for each domain).
In Froxlor’s Settings, you can find an option for Let’s Encrypt integration. Provide the relevant details so that new or existing domains can get SSL certificates automatically.
By assigning different customers and domains, each user can manage their own hosting environment without affecting others.
Step 11: Security and Maintenance
Regular Backups: Schedule backups of your Froxlor database and configuration files. You can use tools like mysqldump for the database and rsync or tar for files.
System Updates: Keep Ubuntu up to date with sudo apt update && sudo apt upgrade -y.
Update Froxlor when new releases are available to patch any security vulnerabilities.
- Check Logs: Monitor logs in /var/log/nginx/, /var/log/mysql/, and /var/log/syslog to catch any errors or suspicious activity.
- Secure SSH: Consider disabling password authentication in favor of SSH keys.
Use a non-standard port or enable a firewall to reduce unauthorized access attempts.
Conclusion
You have now installed Froxlor on Ubuntu 24.04 using Nginx and MariaDB, secured it with Certbot SSL, and configured it for multi-user hosting. Froxlor provides a user-friendly interface for managing multiple websites, domains, emails, and FTP accounts. The combination of Froxlor, Nginx, and MariaDB offers a solid, high-performance platform suitable for freelancers, small hosting operations, or businesses seeking a simple control panel solution.
Remember to keep your system and Froxlor installation updated and regularly back up all critical data. With everything properly configured, you can confidently offer hosting services to multiple users through an easy-to-use control panel. Enjoy your new setup!
