
In this tutorial, we'll learn how to install Vaultwarden on AlmaLinux 10 with PostgreSQL.
Vaultwarden is a lightweight, self-hosted implementation of the Bitwarden server API. When combined with PostgreSQL, it becomes a stable and scalable password management solution suitable for teams, startups, and production environments.
Securing our digital identities is more important than ever. Password managers like Bitwarden are popular for managing secrets, but many of us prefer self-hosting for privacy, control, and cost savings. That’s where Vaultwarden, a lightweight and community-maintained Bitwarden-compatible server, shines.
In this guide, we install Vaultwarden on AlmaLinux 10 using Docker and connect it to a PostgreSQL database. This setup ensures durability, easier backups, and better performance under concurrent usage.
Prerequisites
Before we begin, let’s ensure we have the following in place:
- A Ubuntu 24.04 dedicated server or KVM VPS.
- A basic programming knowledge.
- A domain name pointing to server IP
Learn how to install Vaultwarden on AlmaLinux 10 with PostgreSQL.
Step 1: Update AlmaLinux 10
We begin with a fully updated system.
sudo dnf update -y
sudo dnf install -y epel-release
sudo dnf update -y
Keeping the system updated ensures compatibility with Docker and security patches are applied.
Step 2: Install Docker Engine
Vaultwarden runs best inside containers.
Add Docker repository
sudo dnf config-manager --add-repo https://download.docker.com/linux/centos/docker-ce.repo
AlmaLinux is RHEL-compatible, so the CentOS repository works correctly.
Install Docker packages
sudo dnf install -y docker-ce docker-ce-cli containerd.io docker-compose-plugin
Start and enable Docker
sudo systemctl enable --now docker
Verify installation:
sudo docker version
If version details are displayed, Docker is ready.
Step 3: Install PostgreSQL (Containerized Approach)
We will run PostgreSQL in a Docker container for isolation and simplicity.
Create a working directory:
sudo mkdir -p /opt/vaultwarden
sudo chown $USER:$USER /opt/vaultwarden
cd /opt/vaultwarden
Step 4: Create Docker Compose File
Create the compose file:
nano docker-compose.yml
Paste the following configuration:
services:
  postgres:
    image: postgres:17
    container_name: vaultwarden-postgres
    restart: unless-stopped
    environment:
      POSTGRES_DB: vaultwarden
      POSTGRES_USER: vaultwarden
      POSTGRES_PASSWORD: StrongDatabasePassword
    volumes:
      - postgres-data:/var/lib/postgresql/data

  vaultwarden:
    image: vaultwarden/server:latest
    container_name: vaultwarden
    restart: unless-stopped
    environment:
      DATABASE_URL: postgresql://vaultwarden:StrongDatabasePassword@postgres:5432/vaultwarden
      ADMIN_TOKEN: ReplaceWithSecureAdminToken
    ports:
      - "8080:80"
    depends_on:
      - postgres
    volumes:
      - vw-data:/data

volumes:
  postgres-data:
  vw-data:
Important Notes
- Replace
StrongDatabasePasswordwith a secure password. - Replace
ReplaceWithSecureAdminTokenwith a strong random value. DATABASE_URLconnects Vaultwarden to PostgreSQL.- Data is persisted using Docker volumes.
Step 5: Start the Services
Run:
sudo docker compose up -d
Check running containers:
sudo docker ps
We should see both:
- vaultwarden
- vaultwarden-postgres
Step 6: Configure Firewall and SELinux (If Enabled)
Allow web traffic:
sudo firewall-cmd --add-port={80,443}/tcp --permanent
sudo firewall-cmd --reload
Allow HTTP Network Connections
sudo setsebool -P httpd_can_network_connect 1
Step 7: Configure Nginx Reverse Proxy with HTTPS (Recommended for Production)
Running on plain HTTP is not suitable for public deployments. We configure Nginx with SSL.
Install Nginx
sudo dnf install -y nginx
sudo systemctl enable --now nginx
Create configuration file
sudo nano /etc/nginx/conf.d/vaultwarden.conf
Example configuration:
server {
    listen 80;
    server_name vault.example.com;

    location / {
        proxy_pass http://127.0.0.1:8080;
        proxy_set_header Host $host;
        proxy_set_header X-Real-IP $remote_addr;
        proxy_set_header X-Forwarded-For $proxy_add_x_forwarded_for;
    }
}
Reload Nginx:
sudo systemctl reload nginx
Step 8: Enable HTTPS with Let's Encrypt
Install Certbot:
sudo dnf install -y certbot python3-certbot-nginx
Generate SSL certificate:
sudo certbot --nginx -d vault.example.com
Follow prompts to complete setup.
Vaultwarden will now be accessible securely via:
Step 9: Access Vaultwarden
Open:
https://vault.example.com
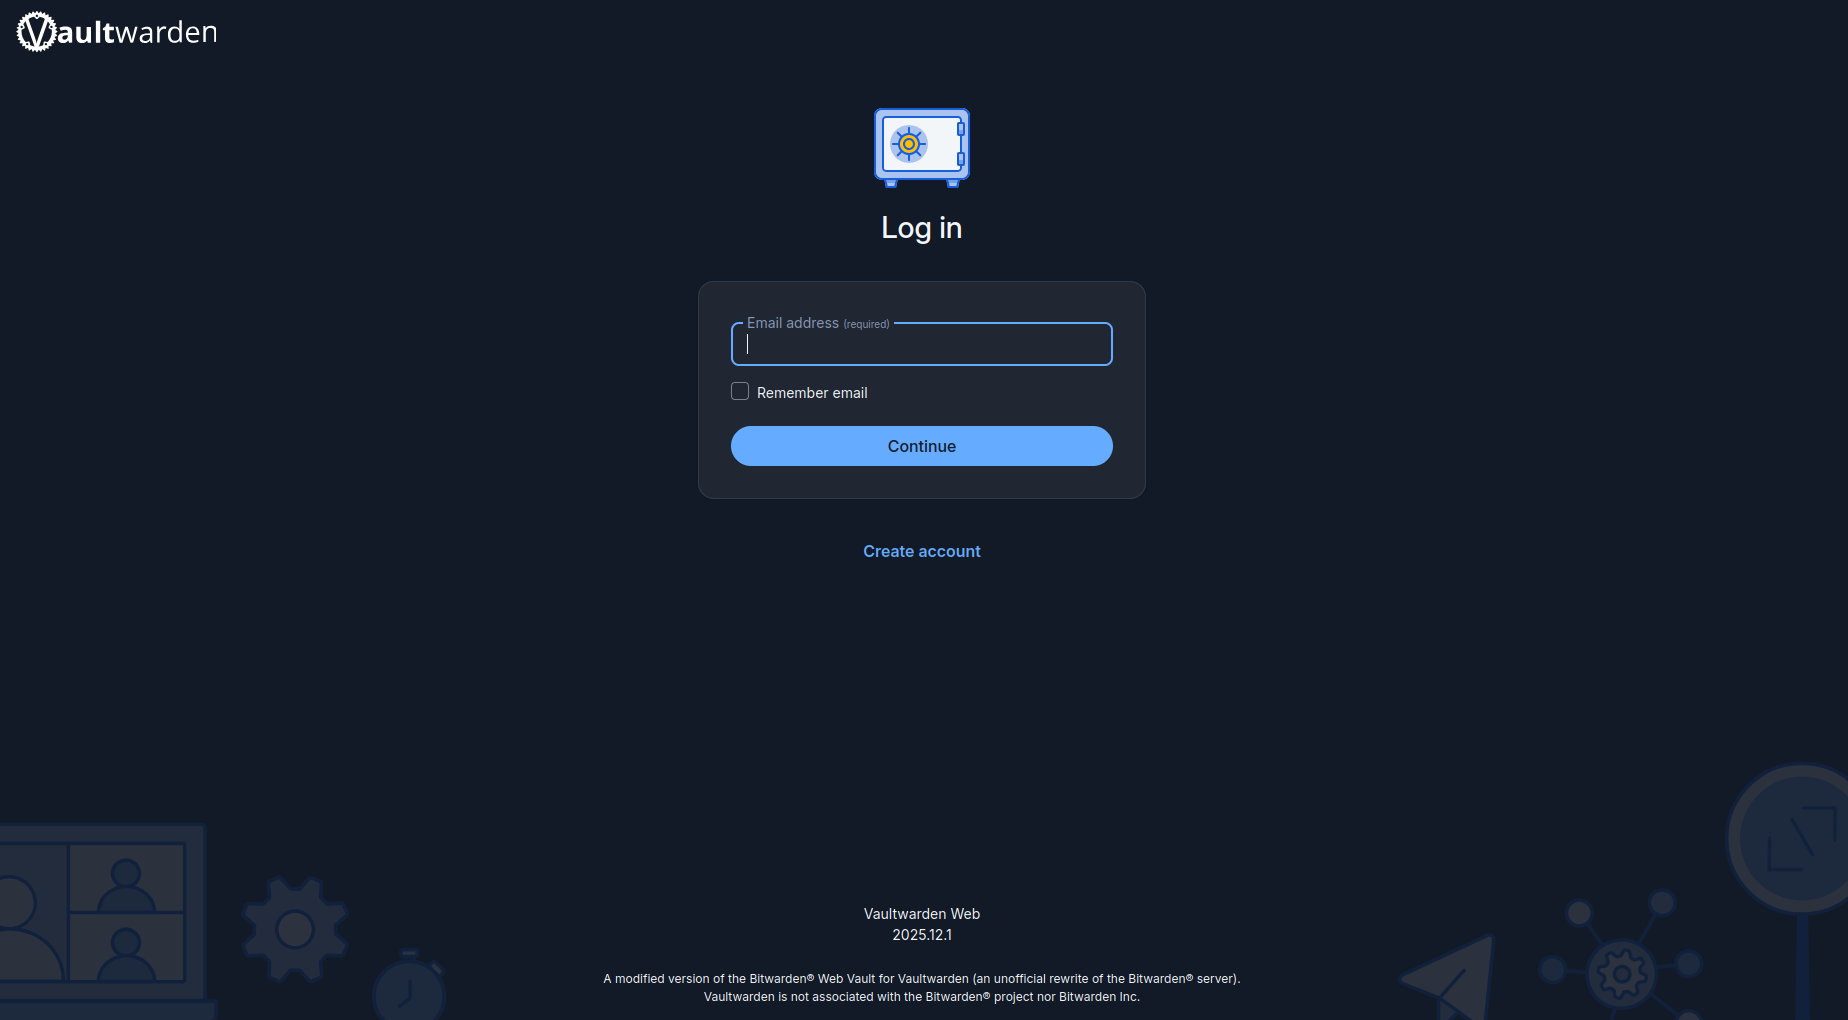
Vaultwarden login page should load.
Admin panel is accessible at:
https://vault.example.com/admin
Use the ADMIN_TOKEN defined earlier.
Step 10: Maintenance and Best Practices
1. Backup PostgreSQL Database
To back up:
sudo docker exec vaultwarden-postgres pg_dump -U vaultwarden vaultwarden > backup.sql
Store backups securely and automate with cron.
2. Update Containers
Periodically update:
sudo docker compose pull
sudo docker compose up -d
3. Monitor Logs
sudo docker logs -f vaultwarden
Monitoring logs helps identify misconfiguration or performance issues early.
For small personal installations, SQLite may be sufficient. However, for teams, growing businesses, or public deployments, PostgreSQL is the more stable and future-ready choice.
Conclusion
We have successfully installed Vaultwarden with PostgreSQL on AlmaLinux 10 using Docker. This setup provides:
- Secure self-hosted password management
- Persistent database storage
- HTTPS encryption
- Upgrade-friendly container deployment
With proper backups and regular updates, this configuration can reliably serve both individual users and teams.
This deployment approach keeps our infrastructure clean, maintainable, and scalable.
