
Learn how to install and configure BookStack on Ubuntu 24.04 step by step.
BookStack is an open-source platform that helps us create and manage internal documentation, project wikis, and knowledge bases. Designed with simplicity in mind, BookStack offers a modern UI and easy navigation using a page-book-shelf structure. In this guide, we’ll walk through installing and configuring BookStack on an Ubuntu 24.04 server, step by step.
What is BookStack?
BookStack is a free and open-source knowledge management platform designed to help individuals and teams create, organize, and share documentation in a user-friendly, self-hosted environment. It’s built using PHP (Laravel framework) and stores content in a MySQL-compatible database, making it lightweight, easy to deploy, and highly customizable.
Prerequisites
Before we begin, let’s ensure we have the following in place:
- A Ubuntu 24.04 dedicated server or KVM VPS.
- A basic programming knowledge.
- A domain name pointing to server IP.
How to Install BookStack on Ubuntu 24.04 for a Self-Hosted Knowledge Base (2025 Guide)
Step 1: Update the Server
Let’s start by updating our Ubuntu 24.04 packages to ensure we are working with the latest versions.
sudo apt update && sudo apt upgrade -y
Also install essential tools:
sudo apt install -y curl git unzip zip software-properties-common
Step 2: Install PHP and Required Extensions
BookStack runs on PHP. We’ll install PHP 8.3 along with necessary modules.
sudo apt install -y php-fpm php-cli php-mbstring php-xml php-mysql php-common php-curl php-zip php-gd php-bcmath php-tokenizer
Step 3: Install and Configure MariaDB
BookStack stores its content in a MySQL-compatible database. We’ll use MariaDB.
sudo apt install -y mariadb-server
sudo systemctl start mariadb
sudo systemctl enable mariadb
Secure the installation:
sudo mysql_secure_installation
Create a database and user for BookStack:
sudo mysql -u root -p
Inside the MySQL shell:
CREATE DATABASE bookstack_db CHARACTER SET utf8mb4 COLLATE utf8mb4_unicode_ci;
CREATE USER 'bookstack_user'@'localhost' IDENTIFIED BY 'StrongPassword123!';
GRANT ALL PRIVILEGES ON bookstack_db.* TO 'bookstack_user'@'localhost';
FLUSH PRIVILEGES;
EXIT;
Step 4: Install Composer (PHP Dependency Manager)
Composer is needed to install Laravel dependencies.
curl -sS https://getcomposer.org/installer | php
sudo mv composer.phar /usr/local/bin/composer
Step 5: Configure Nginx
Install Nginx:
sudo apt install -y nginx
Create a new config file:
sudo nano /etc/nginx/sites-available/bookstack
Paste:
server {
    listen 80;
    server_name yourdomain.com;

    root /var/www/bookstack/public;
    index index.php index.html index.htm;

    location / {
        try_files $uri $uri/ /index.php?$query_string;
    }

    location ~ \.php$ {
        include snippets/fastcgi-php.conf;
        fastcgi_pass unix:/run/php/php8.3-fpm.sock;
        fastcgi_param SCRIPT_FILENAME $document_root$fastcgi_script_name;
        include fastcgi_params;
    }

    location ~ /\.ht {
        deny all;
    }
}
Enable the site and restart Nginx:
sudo ln -s /etc/nginx/sites-available/bookstack /etc/nginx/sites-enabled/
sudo nginx -t
sudo systemctl restart nginx
Add default ports in firewall
ufw allow 80/tcp
ufw allow 443/tcp
ufw reload
Step 6: Download BookStack
Let’s place BookStack under /var/www:
cd /var/www
sudo git clone https://github.com/BookStackApp/BookStack.git --branch release --single-branch bookstack
cd bookstack
Step 7: Configure BookStack Environment
Copy the example environment file:
sudo cp .env.example .env
Edit it:
sudo nano .env
Update these values:
APP_URL=http://yourdomain.com
DB_DATABASE=bookstack_db
DB_USERNAME=bookstack_user
DB_PASSWORD=StrongPassword123!
Step 8: Set File Permissions
sudo chown -R www-data:www-data /var/www/bookstack
Step 9: Install PHP Dependencies and Setup Database
Run the following as the web user:
sudo -u www-data composer install --no-dev --prefer-dist
php artisan key:generate
php artisan migrate
Step 10: Enable HTTPS with Certbot
Secure our site with a free SSL certificate using Certbot.
Install Certbot and Nginx plugin:
sudo apt install -y certbot python3-certbot-nginx
Run the Certbot wizard:
sudo certbot --nginx -d yourdomain.com
Choose to redirect HTTP to HTTPS when prompted.
Step 11: Access BookStack
Visit https://yourdomain.com in a browser. The login page should appear.
Default credentials:
Email: admin@admin.com
Password: password
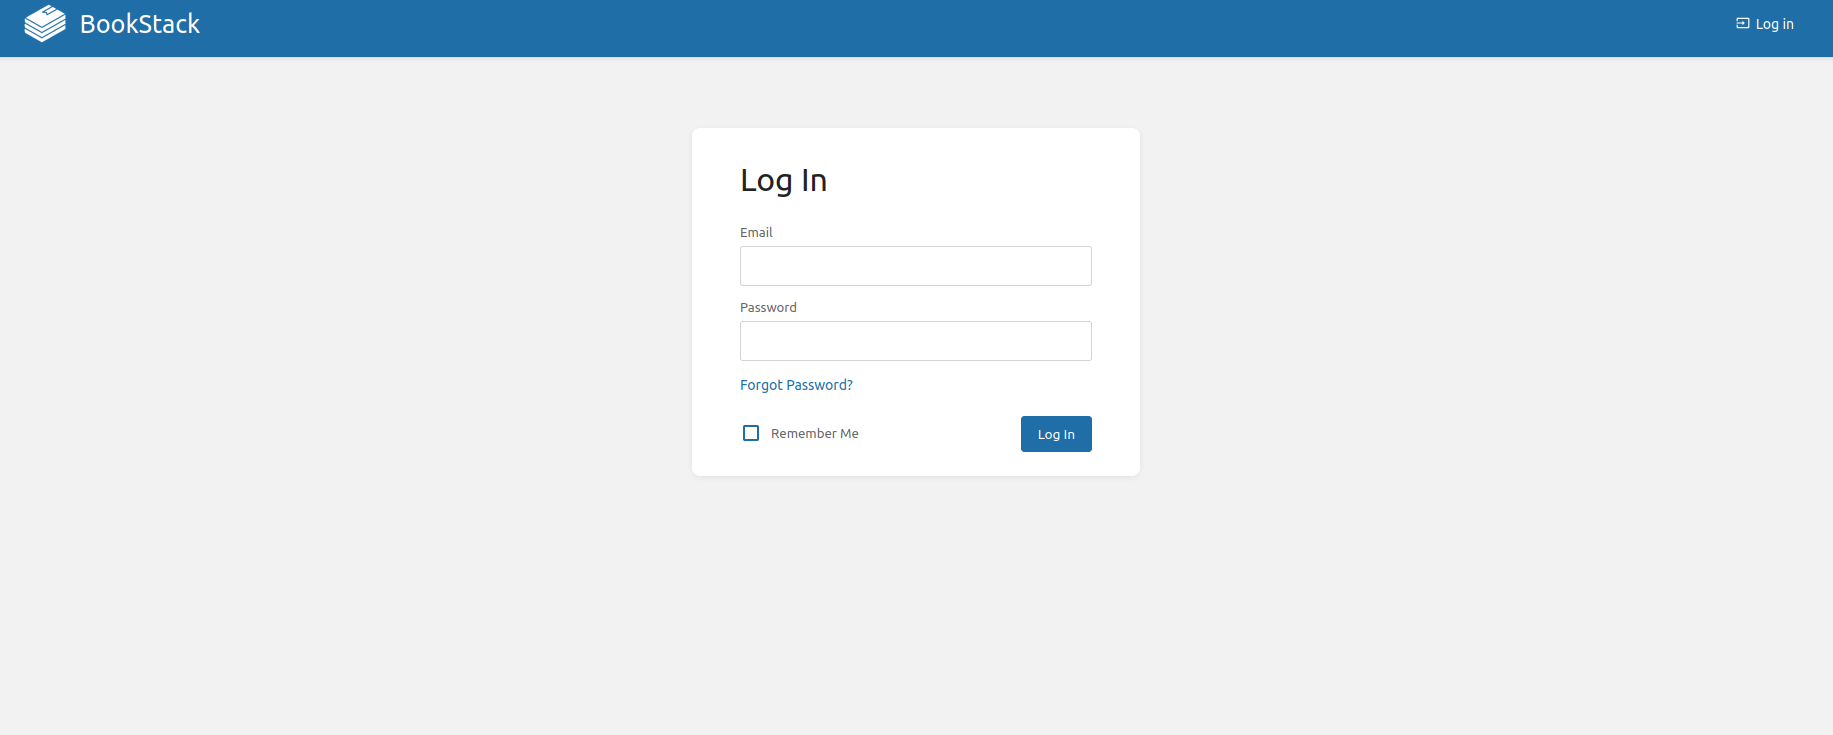
Change the admin password immediately after logging in.
Step 12: Automate Updates (Optional)
To keep our BookStack instance secure and updated:
cd /var/www/bookstack
sudo -u www-data git pull
sudo -u www-data composer install --no-dev --prefer-dist
php artisan migrate --force
Consider placing this in a cron job or review updates manually on each new release.
Final Thoughts
We’ve now successfully installed and configured BookStack on our Ubuntu 24.04 server. This setup gives us a fully private, self-hosted knowledge base platform that’s easy to maintain and scale. With features like role-based access, WYSIWYG editing, and category-based organization, BookStack can easily become the documentation backbone for our team or business.
Want to customize it further? BookStack supports LDAP, SAML, custom themes, and third-party integrations. We can also back it up regularly using tools like rsync or automated snapshots.
Let’s keep documenting and sharing knowledge—on our own terms.
