
In this tutorial, we'll learn how to install Tailscale on Rocky Linux 10.
Tailscale is a secure private networking solution built on WireGuard. It allows us to connect servers, laptops, and cloud instances into a single encrypted network without complex VPN configurations. In this tutorial we explain how to install and configure Tailscale on Rocky Linux 10, while keeping SELinux enabled and managing access through firewalld.
This guide is written for system administrators, DevOps engineers, and developers who want a secure and reliable remote access solution.
Prerequisites
Before you begin, make sure that:
- A Rocky Linux 10 installed dedicated server or KVM VPS.
- You have sudo privileges.
- You have basic familiarity with the Linux command line.
How to Install Tailscale on Rocky Linux 10
Step 1 - Update Rocky Linux System
We always begin by updating our operating system to avoid package conflicts.
sudo dnf update -y
Step 2 - Add Official Tailscale Repository
Rocky Linux does not include Tailscale in default repositories. We add the official Tailscale repo.
Run the following command to install the repository configuration:
curl -fsSL https://pkgs.tailscale.com/stable/rhel/9/tailscale.repo | sudo tee /etc/yum.repos.d/tailscale.repo
Even though Rocky Linux 10 is newer, the RHEL 9 repository is currently compatible and recommended by Tailscale.
Step 3 - Install Tailscale Package
Now we install the Tailscale client.
sudo dnf install tailscale -y
After installation completes, enable and start the Tailscale service.
sudo systemctl enable --now tailscaled
Verify that the service is running:
sudo systemctl status tailscaled
Step 4 - Allow Tailscale in Firewall
Tailscale requires outbound connectivity and UDP communication.
We allow Tailscale traffic through firewalld.
sudo firewall-cmd --permanent --add-port=41641/udp
sudo firewall-cmd --reload
This ensures Tailscale can establish peer-to-peer connections properly.
Step 5 - Authenticate Tailscale
Next we bring the Tailscale interface up and authenticate the machine.
sudo tailscale up
The command will display a login URL similar to:
https://login.tailscale.com/a/xxxxxxxx
We open this URL in a browser and log in using our preferred identity provider such as:
- GitHub
- Microsoft
- Other SSO providers
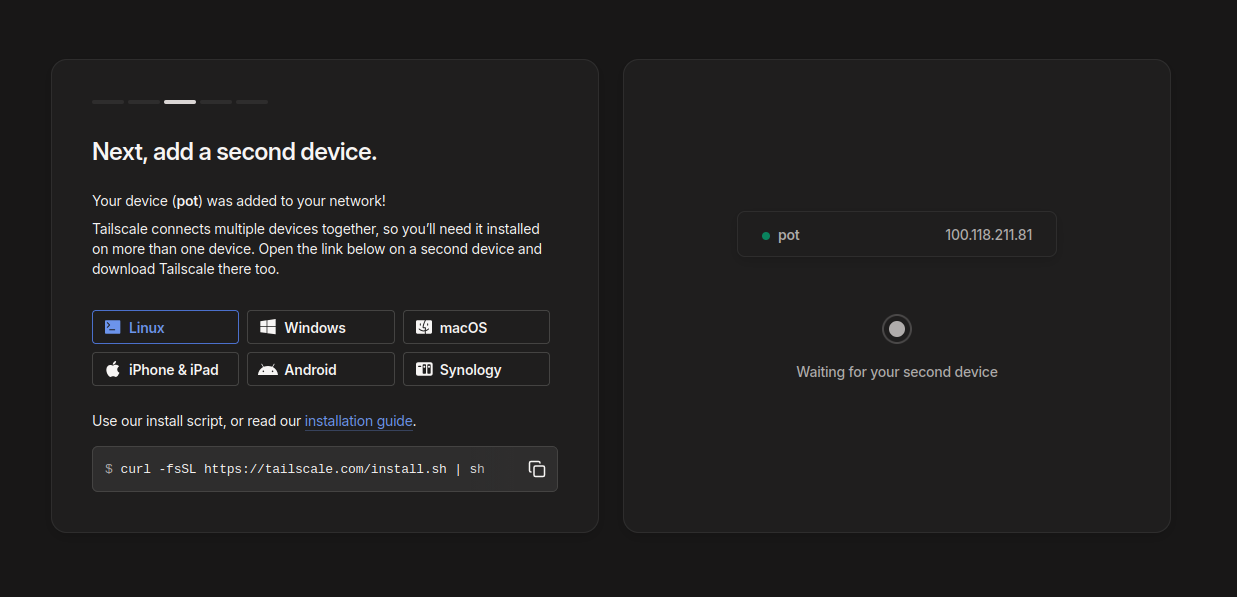
After successful authentication, the server becomes part of our private Tailscale network.
Step 6 - Verify Installation
We confirm that Tailscale is running correctly.
Check connection status:
tailscale status
Get the assigned Tailscale IP address:
tailscale ip -4
This will return an address in the range:
100.x.x.x
This private IP is used to access the system securely from other Tailscale devices.
Step 7 - Test Connectivity
From another machine on the same Tailscale network, we test access.
ping 100.x.x.x
Replace with the IP shown in the previous step.
If ping succeeds, the private network is working correctly.
Step 8 - Secure SSH Access Using Tailscale
A common use case is restricting SSH access only to Tailscale.
We modify the firewall to allow SSH only from Tailscale network.
sudo firewall-cmd --permanent --add-rich-rule='rule family="ipv4" source address="100.64.0.0/10" service name="ssh" accept'
sudo firewall-cmd --permanent --remove-service=ssh
sudo firewall-cmd --reload
Now SSH is accessible only through the secure Tailscale interface.
This is a major security improvement compared to exposing SSH to the internet.
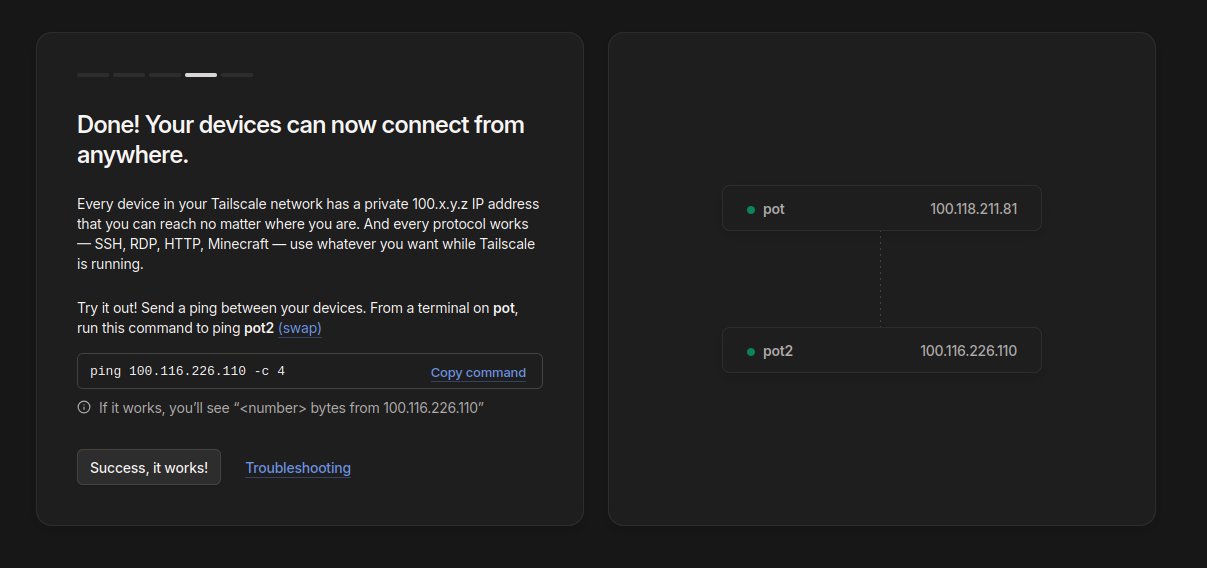
Once two devices gets added it looks something like:
Step 9 - SELinux Considerations
Tailscale works well with SELinux in enforcing mode. Normally no changes are required.
If any SELinux alerts appear, we check them with:
sudo ausearch -m AVC -ts recent
For most installations, Tailscale runs without additional SELinux policies.
We strongly recommend keeping SELinux enabled for maximum security.
Optional - Use as Exit Node
If we want this Rocky Linux server to act as a VPN gateway, we enable exit node functionality.
sudo tailscale up --advertise-exit-node
Then in the Tailscale admin console, we approve the exit node.
This allows other devices to route internet traffic through this server securely.
Troubleshooting Common Issues
Tailscale service not starting
Restart the service:
sudo systemctl restart tailscaled
Authentication fails
Re-authenticate:
sudo tailscale logout
sudo tailscale up
Cannot reach peers
- Verify firewall rules
- Confirm both devices are online
- Check tailscale status
DNS or connection problems
Restart networking:
sudo systemctl restart NetworkManager
Uninstalling Tailscale
If we ever need to remove Tailscale:
sudo tailscale down
sudo dnf remove tailscale -y
Conclusion
In this tutorial we installed and configured Tailscale on Rocky Linux 10 while keeping SELinux and firewall enabled. We covered:
- Adding official Tailscale repository
- Installing and enabling the service
- Configuring firewalld rules
- Authenticating the node
- Testing secure connectivity
- Hardening SSH access
With this setup, our Rocky Linux systems become part of a secure, private, and easy-to-manage network without traditional VPN complexity.
Tailscale is one of the most practical tools for modern infrastructure, and Rocky Linux provides a stable enterprise platform to run it.
