
In this tutorial, we'll learn how to install and host WordPress website on Rocky Linux 10 Server.
We understand the importance of having a secure, fast, and reliable website. We will guide you through the process of installing and configuring WordPress on an Rocky Linux 10 server. Whether you are setting up a new blog, business website, or portfolio, WordPress provides a flexible platform to get your site up and running in no time.
Prerequisites
Before proceeding, make sure you have the following in place:
- A Fresh Rocky Linux 10 dedicated server or KVM VPS.
- Root or Sudo Privileges: You should have sudo privileges to install packages and make system-wide changes.
- A Valid Domain Name (Optional but Recommended)
How to Install and Host WordPress Website on Rocky Linux 10 with LEMP stack
Step 1 Update the System
First, we need to update the system to ensure that we have the latest security patches and software packages. Open your terminal or SSH into your server and run the following command:
sudo dnf update -y
Step 2 Install Nginx Web Server
Apache is a popular web server that will serve the WordPress files. To install Apache, run the following command:
sudo dnf install nginx -y
Once installed, enable Apache to start automatically on boot:
sudo systemctl enable --now nginx
Allow HTTP and HTTPS ports in the firewall using following command:
sudo firewall-cmd --add-port={80,443}/tcp --permanent
sudo firewall-cmd --reload
Check if Apache is running by accessing your server’s public IP address. Open a browser and enter:
http://<your-server-ip>
If you see the Nginx Rocky Linux 10 Default Page, Apache is working correctly.
Step 3: Install MariaDB
WordPress uses MariaDB to store its data. To install MySQL, run:
sudo dnf install mariadb-server -y
Once MySQL is installed, start and enable it:
sudo systemctl enable --now mariadb
Now, secure your MariaDB installation:
sudo mysql_secure_installation
Follow the prompts to set up a root password and remove insecure default settings.
Step 4 Install PHP and Required Extensions
WordPress requires PHP and several PHP extensions to work correctly. Install PHP and the necessary extensions by running:
sudo dnf -y install php-fpm php-mysqlnd php-gd php-xml php-mbstring php-curl php-zip php-intl php-opcache
Enable and start PHP-FPM:
sudo systemctl enable --now php-fpm
Tune PHP-FPM to work cleanly with Nginx
Edit the PHP-FPM pool config:
sudo nano /etc/php-fpm.d/www.conf
Set (or confirm) these key lines:
user = nginx
group = nginx

listen = /run/php-fpm/www.sock
listen.owner = nginx
listen.group = nginx
listen.mode = 0660
Restart PHP-FPM:
sudo systemctl restart php-fpm
Optional but sensible PHP baseline for WordPress:
sudo nano /etc/php.ini
Suggested values (adjust to workload):
memory_limit = 256M
upload_max_filesize = 64M
post_max_size = 64M
max_execution_time = 300
Restart again:
sudo systemctl restart php-fpm
Step 5 Create a MySQL Database for WordPress
Now that MySQL is installed, we need to create a database for WordPress to use. Start the MySQL command-line interface:
sudo mysql -u root -p
Enter the root password you set earlier, and then create a new database and user for WordPress:
CREATE DATABASE wordpress;
CREATE USER 'wordpressuser'@'localhost' IDENTIFIED BY 'your_password';
GRANT ALL PRIVILEGES ON wordpress.* TO 'wordpressuser'@'localhost';
FLUSH PRIVILEGES;
EXIT;
Replace 'your_password' with a strong password for the wordpressuser.
Step 6 Create the website directory and download WordPress
We’ll use a clean per-site structure:
sudo mkdir -p /var/www/example.com/public
sudo mkdir -p /var/www/example.com/logs
Download WordPress and place it into the web root:
cd /tmp
wget https://wordpress.org/latest.tar.gz
tar -xzf latest.tar.gz
sudo rsync -avP wordpress/ /var/www/example.com/public/
Set ownership and safe permissions:
sudo chown -R nginx:nginx /var/www/example.com
sudo find /var/www/example.com -type d -exec chmod 755 {} \;
sudo find /var/www/example.com -type f -exec chmod 644 {} \;
Step 7 Configure WordPress (wp-config.php)
Create config from the sample:
cd /var/www/example.com/public
sudo -u nginx cp wp-config-sample.php wp-config.php
Edit it:
sudo nano wp-config.php
Set database values:
define('DB_NAME', 'wordpress');
define('DB_USER', 'wordpressuser');
define('DB_PASSWORD', 'your_password');
define('DB_HOST', 'localhost');
Add/update these for better defaults:
define('FS_METHOD', 'direct');
define('WP_MEMORY_LIMIT', '256M');
For salts/keys: generate fresh WordPress security keys from the official API and paste them into wp-config.php (replace the placeholder AUTH_KEY… lines). This matters.
Navigate to your browser and open following URL:
https://api.wordpress.org/secret-key/1.1/salt/
You will get auto generated salts. Copy and paste into wp-config.php file.
Step 8 Configure Nginx server block for WordPress
Create an Nginx config:
sudo nano /etc/nginx/conf.d/example.com.conf
Paste this (replace domain and paths):
server {
    listen 80;
    server_name example.com www.example.com;

    root /var/www/example.com/public;
    index index.php index.html;

    access_log /var/log/nginx/access.log;
    error_log  /var/log/nginx/error.log;

    location / {
        try_files $uri $uri/ /index.php?$args;
    }

    location ~ \.php$ {
        try_files $uri =404;
        include fastcgi_params;
        fastcgi_param SCRIPT_FILENAME $document_root$fastcgi_script_name;
        fastcgi_pass unix:/run/php-fpm/www.sock;
        fastcgi_read_timeout 120;
    }

    location ~* \.(js|css|png|jpg|jpeg|gif|ico|svg|webp)$ {
        expires 30d;
        add_header Cache-Control "public, no-transform";
        access_log off;
    }

    location ~ /\. {
        deny all;
    }
}
Test and reload Nginx:
sudo nginx -t
sudo systemctl reload nginx
Step 9 SELinux: allow WordPress to work without disabling security
On Rocky/RHEL systems, SELinux is often the hidden reason “everything is installed but nothing works”. We keep it Enforcing and apply the right contexts and booleans.
Label the web root:
sudo semanage fcontext -a -t httpd_sys_content_t "/var/www/example.com/public(/.*)?"
sudo restorecon -Rv /var/www/example.com/public
Allow WordPress uploads and cache writes (wp-content needs write access):
sudo semanage fcontext -a -t httpd_sys_rw_content_t "/var/www/example.com/public/wp-content(/.*)?"
sudo restorecon -Rv /var/www/example.com/public/wp-content
If MariaDB is local and WordPress must connect, enable the SELinux boolean (commonly required for web apps).
sudo setsebool -P httpd_can_network_connect_db on
Step 10 Install Let’s Encrypt SSL (Certbot) for Nginx
Rocky documentation covers Let’s Encrypt usage, and the Nginx plugin package name is python3-certbot-nginx.
Install Certbot + Nginx plugin:
sudo dnf -y install certbot python3-certbot-nginx
Issue and install the certificate:
sudo certbot --nginx -d example.com -d www.example.com
Choose the redirect option so HTTP goes to HTTPS.
Test renewal:
sudo certbot renew --dry-run
Step 11 Finish WordPress installation in the browser
Now, we need to finish the installation through the web interface. In your browser, visit:
https://example.com/wp-admin/install.php
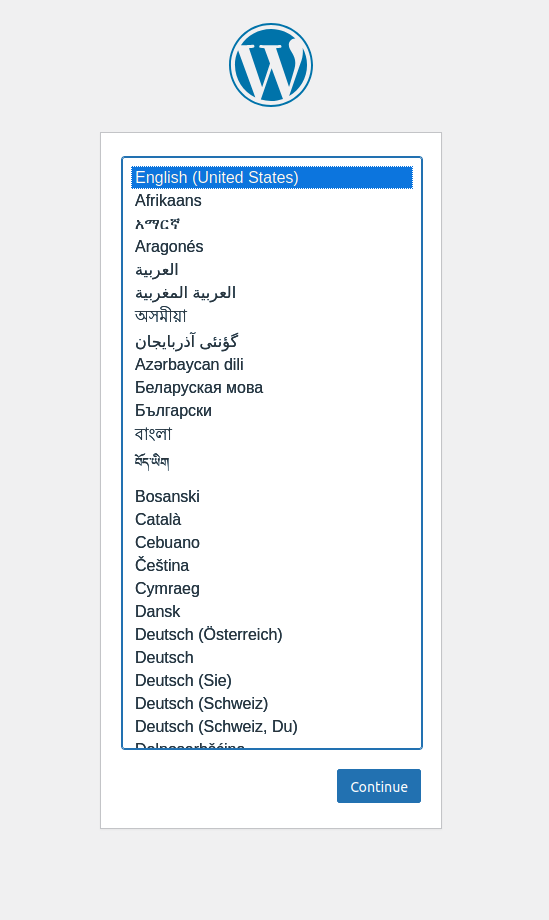
You will be prompted to select a language and set up your website. Enter the required information, including the site title, admin username, and password. Be sure to choose a strong password to secure your WordPress installation.
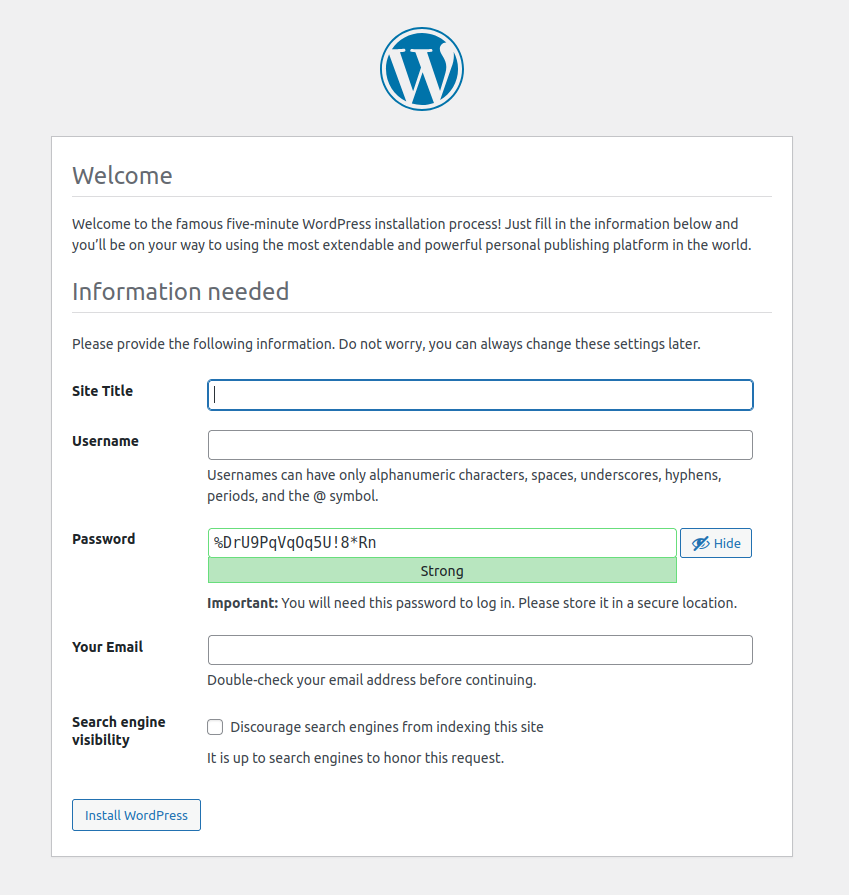
Once completed, click Install WordPress. You should see a success message.
Conclusion
Congratulations! In this tutorial, we've learnt how to install and host WordPress website on Rocky Linux 10 Server. With SSL enabled, your website is more secure, which can boost your search engine rankings. You can now start customizing your site, installing themes and plugins, and publishing content.
We hope this guide has helped you set up WordPress smoothly. If you need further assistance, our expert team is always available to help you with hosting, configurations, and optimizations.
