
Learn how to install and configure BookStack on AlmaLinux 9 step by step.
BookStack is an open-source platform that helps us create and manage internal documentation, project wikis, and knowledge bases. Designed with simplicity in mind, BookStack offers a modern UI and easy navigation using a page-book-shelf structure. In this guide, we’ll walk through installing and configuring BookStack on an Ubuntu 24.04 server, step by step.
What is BookStack?
BookStack is a free and open-source knowledge management platform designed to help individuals and teams create, organize, and share documentation in a user-friendly, self-hosted environment. It’s built using PHP (Laravel framework) and stores content in a MySQL-compatible database, making it lightweight, easy to deploy, and highly customizable.
Prerequisites
Before we begin, let’s ensure we have the following in place:
- A AlmaLinux 9 dedicated server or KVM VPS.
- A basic programming knowledge.
- A domain name pointing to server IP.
How to Install BookStack on AlmaLinux 9 for a Self-Hosted Knowledge Base (2025 Guide)
Step 1: Update the System
Before we start, we must ensure our AlmaLinux system is up-to-date. Run the following command:
sudo dnf update -y && sudo dnf upgrade -y
Once complete, install essential packages:
sudo dnf install -y epel-release vim curl git unzip policycoreutils-python-utils
Step 2: Install LAMP Stack (Apache, MariaDB, PHP)
BookStack requires a LAMP environment. Let’s install Apache, MariaDB, and PHP 8.3.
Install Apache Web Server
sudo dnf install -y httpd
sudo systemctl enable --now httpd
sudo firewall-cmd --permanent --add-service=http
sudo firewall-cmd --reload
Install MariaDB (MySQL-Compatible)
sudo dnf install -y mariadb-server
sudo systemctl enable --now mariadb
Secure the MariaDB installation:
sudo mysql_secure_installation
Choose a strong root password and answer prompts to remove anonymous users and test databases.
Install PHP 8.3 and Required Extensions
Enable and install PHP 8.3:
sudo dnf module reset php -y
sudo dnf module enable php:8.3 -y
sudo dnf install -y php php-cli php-mbstring php-xml php-common php-mysqlnd php-gd php-curl php-tokenizer php-zip php-opcache php-bcmath php-fileinfo
sudo systemctl restart httpd
Step 3: Create BookStack Database and User
Let’s prepare the database BookStack will use:
sudo mysql -u root -p
Inside the MariaDB shell, run:
CREATE DATABASE bookstackdb CHARACTER SET utf8mb4 COLLATE utf8mb4_unicode_ci;
CREATE USER 'bookstackuser'@'localhost' IDENTIFIED BY 'StrongPasswordHere!';
GRANT ALL PRIVILEGES ON bookstackdb.* TO 'bookstackuser'@'localhost';
FLUSH PRIVILEGES;
EXIT;
Make sure to replace StrongPasswordHere! with a secure password.
Step 4: Install Composer (PHP Dependency Manager)
php -r "copy('https://getcomposer.org/installer', 'composer-setup.php');"
php composer-setup.php
sudo mv composer.phar /usr/local/bin/composer
composer --version
Step 5: Download and Configure BookStack
Clone the BookStack project from GitHub:
cd /var/www/
sudo git clone https://github.com/BookStackApp/BookStack.git --branch release --single-branch bookstack
cd bookstack
Set ownership:
sudo chown -R apache:apache /var/www/bookstack
sudo chown -R apache:apache /var/www/bookstack
Install PHP dependencies:
sudo -u apache /usr/local/bin/composer install --no-dev
Step 6: Configure BookStack Environment
Copy the example environment file:
cp .env.example .env
Edit .env with your preferred text editor:
vim .env
Update these values:
APP_URL=https://your-domain.com
DB_HOST=127.0.0.1
DB_DATABASE=bookstackdb
DB_USERNAME=bookstackuser
DB_PASSWORD=StrongPasswordHere!
Step 7: Configure Apache for BookStack
Create a new Apache configuration file:
sudo vim /etc/httpd/conf.d/bookstack.conf
Paste the following content:
<VirtualHost *:80>
    ServerName your-domain.com

    DocumentRoot /var/www/bookstack/public

    <Directory /var/www/bookstack/public>
        AllowOverride All
        Require all granted
    </Directory>

    ErrorLog /var/log/httpd/bookstack_error.log
    CustomLog /var/log/httpd/bookstack_access.log combined
</VirtualHost>
Enable Apache rewrite module:
sudo setsebool -P httpd_can_network_connect_db 1
sudo chcon -Rt httpd_sys_rw_content_t /var/www/bookstack
sudo systemctl restart httpd
Step 8: Run BookStack Migrations
Now initialize the database structure:
cd /var/www/bookstack
sudo -u apache php artisan key:generate
sudo -u apache php artisan migrate
Step 9: Configure Firewall and SELinux
We need to add HTTP and HTTPS ports.
firewall-cmd --add-port={80,443}/tcp --permanent
firewall-cmd --reload
If SELinux is enforcing, allow Apache to access BookStack files:
sudo chcon -R -t httpd_sys_rw_content_t /var/www/bookstack
Step 10: Secure BookStack with SSL (Optional but Ideal)
Use Let’s Encrypt and Certbot:
sudo dnf install -y certbot python3-certbot-apache
sudo certbot --apache -d your-domain.com
Step 11: Access BookStack in Browser
Open your browser and navigate to:
https://your-domain.com
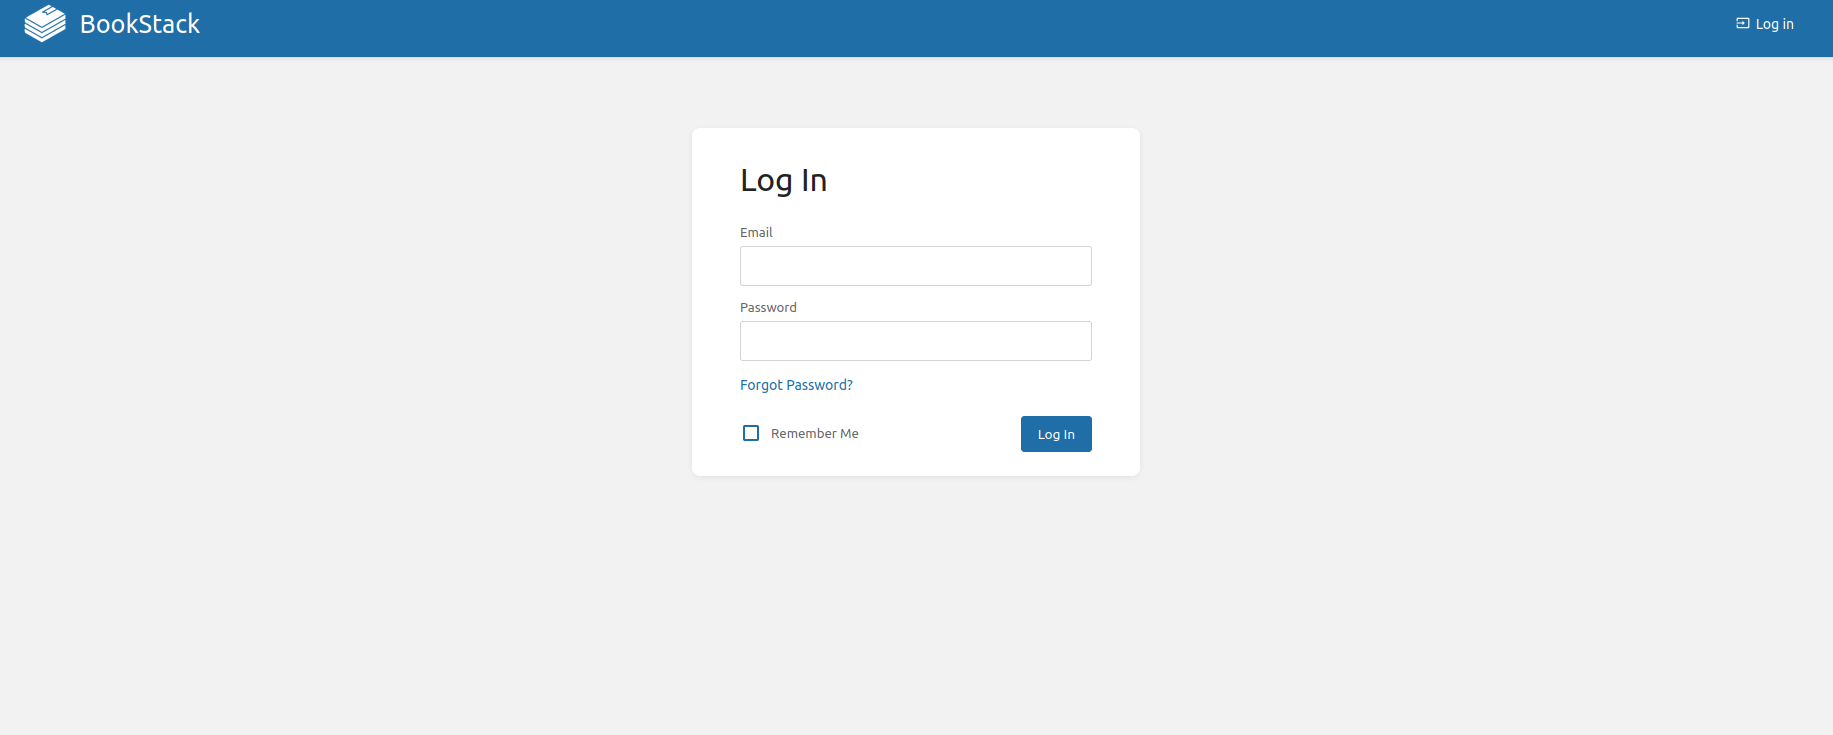
You’ll land on the BookStack login page. Default credentials:
Email: admin@admin.com
Password: password
- Change the admin password after the first login.
- Follow the prompts to configure HTTPS.
Final Words
We’ve successfully installed and configured BookStack on AlmaLinux 9, creating a professional, self-hosted knowledge base that’s perfect for teams, businesses, or IT departments. With BookStack, we can simplify internal documentation, organize content hierarchically, and improve knowledge sharing effortlessly.
Make sure to:
- Set up daily or weekly backups.
- Use HTTPS in production.
- Regularly update BookStack and its dependencies.
By following this guide, we build not just a documentation system, but a collaborative space where knowledge grows and stays preserved.
If this tutorial helped, consider sharing it to help others create powerful internal wikis with open-source tools.
