Learn how to install Jenkins on Debian 13 with Nginx reverse proxy and SSL. Step-by-step production-ready CI/CD setup guide for secure deployments.
Introduction
Continuous Integration and Continuous Delivery (CI/CD) are foundational to modern software development. Jenkins remains one of the most trusted open-source automation servers used by startups, enterprises, and DevOps teams worldwide.
In this guide, we will install Jenkins on Debian 13 LTS using the latest supported method. We will also ensure the installation is secure, production-ready, and aligned with current best practices.
Prerequisites
Before we begin, let’s ensure we have the following in place:
- A Debian 13 dedicated server or KVM VPS.
- A basic programming knowledge.
- A domain name pointing A record to server IP.
Update the system first:
sudo apt update && sudo apt upgrade -y
Step 1: Install Java (Required Dependency)
Jenkins requires Java 21 or later. Debian 13 includes OpenJDK 21 in its repositories.
Install OpenJDK:
sudo apt install openjdk-21-jdk -y
Verify installation:
java -version
Expected output should show Java 21.
Step 2: Add Official Jenkins Repository
We always use the official Jenkins repository to receive stable updates.
Add Jenkins GPG key:
sudo wget -O /etc/apt/keyrings/jenkins-keyring.asc \
  https://pkg.jenkins.io/debian-stable/jenkins.io-2026.key
Add repo:
echo "deb [signed-by=/etc/apt/keyrings/jenkins-keyring.asc]" \
  https://pkg.jenkins.io/debian-stable binary/ | sudo tee \
  /etc/apt/sources.list.d/jenkins.list > /dev/null
Update package index:
sudo apt update
Step 3: Install Jenkins
Now install Jenkins:
sudo apt install jenkins -y
Once installation completes, Jenkins service will automatically start.
Verify Jenkins service status using following command:
sudo systemctl status jenkins
If active, we will see:
Active: active (running)
If not running:
sudo systemctl start jenkins
sudo systemctl enable jenkins
Step 4: Configure Firewall (If UFW is Enabled)
Allow Jenkins port:
sudo ufw allow 80,443/tcp
sudo ufw reload
Verify:
sudo ufw status
Step 5: Configure Nginx Reverse Proxy (Recommended)
Install Nginx:
sudo apt install nginx -y
Create configuration:
sudo nano /etc/nginx/sites-available/jenkins
Add:
server {
    listen 80;
    server_name example.com;

    location / {
        proxy_pass http://localhost:8080;
        proxy_set_header Host $host;
        proxy_set_header X-Real-IP $remote_addr;
        proxy_set_header X-Forwarded-For $proxy_add_x_forwarded_for;
    }
}
Enable configuration:
sudo ln -s /etc/nginx/sites-available/jenkins /etc/nginx/sites-enabled/
sudo nginx -t
sudo systemctl restart nginx
Step 6: Enable HTTPS (Critical)
Install Certbot:
sudo apt install certbot python3-certbot-nginx -y
Generate SSL certificate:
sudo certbot --nginx -d example.com
This ensures encrypted access to Jenkins.
Step 7: Access Jenkins Web Interface
Open browser:
https://example.com
On first access, Jenkins requires an initial admin password.

Retrieve it:
sudo cat /var/lib/jenkins/secrets/initialAdminPassword
Copy the password and paste it into the browser setup screen.
Step 8: Complete Initial Setup
Jenkins will prompt for:
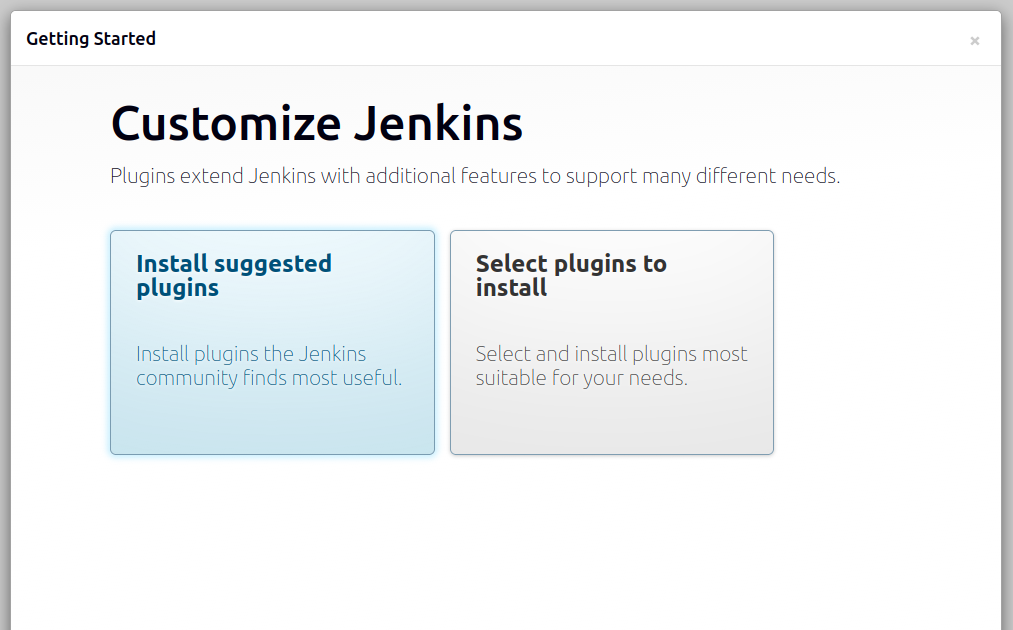
1. Install Suggested Plugins
Choose Install suggested plugins for most environments.
2. Create Admin User
Create a secure admin account with:
Strong password
Corporate email
Proper username

3. Instance Configuration
Confirm Jenkins URL.
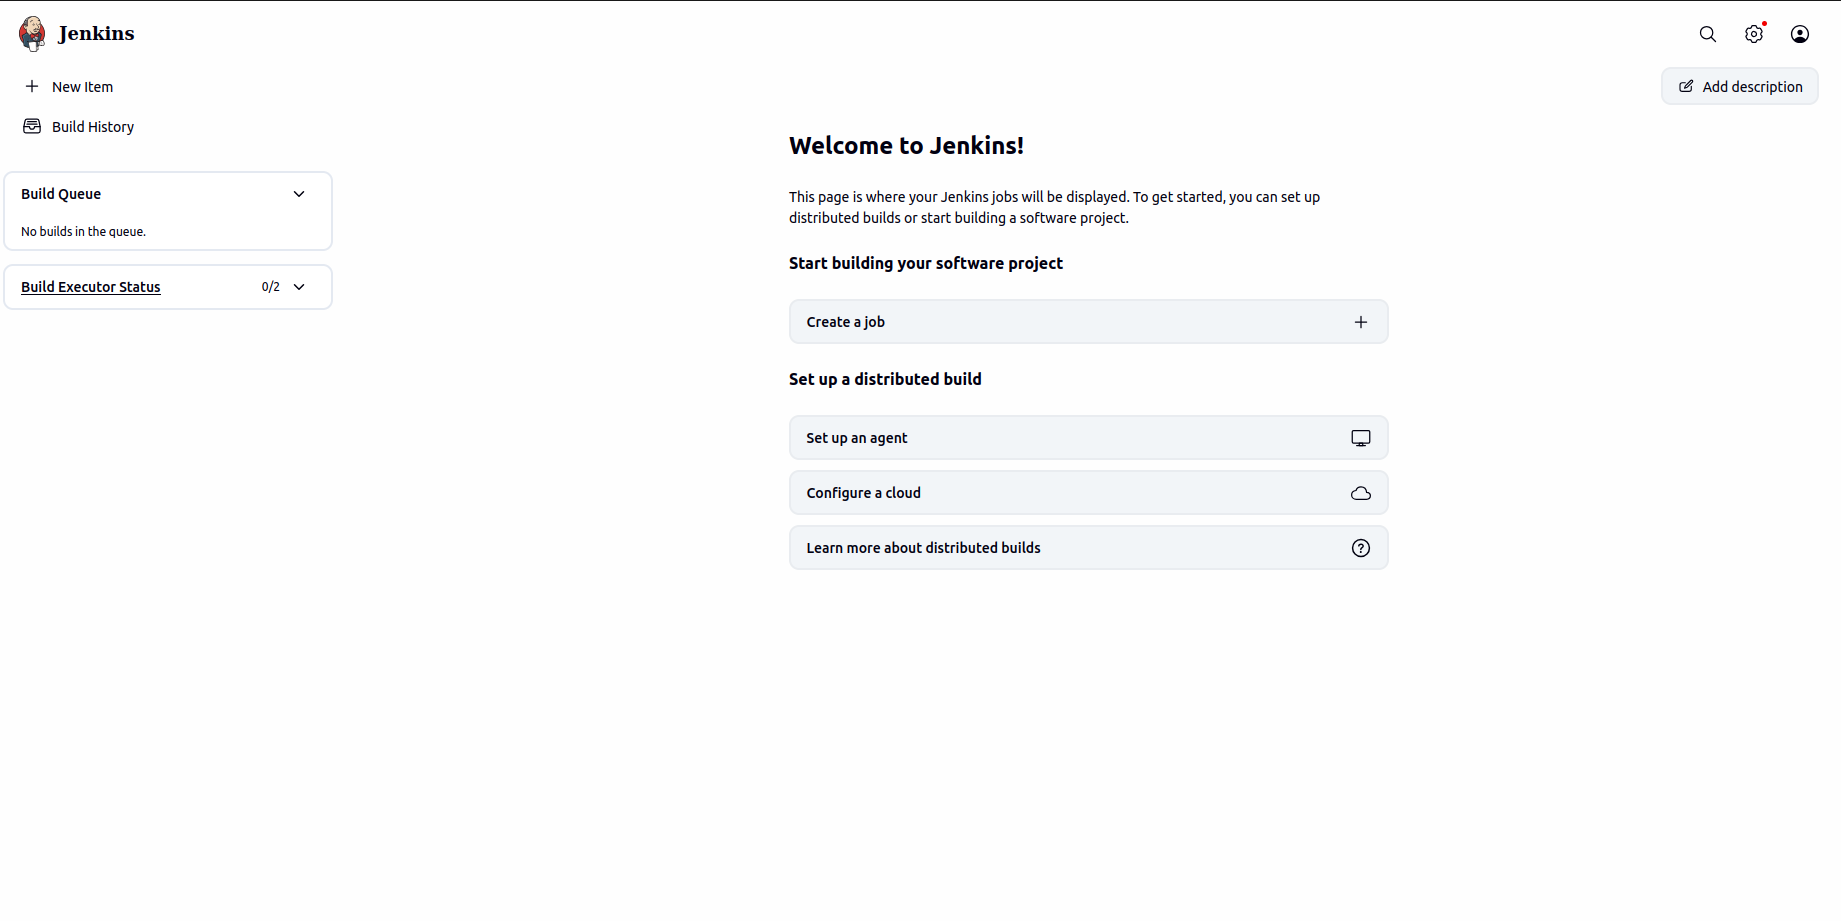
After setup completes, the Jenkins dashboard will load.
Step 9: Optimize Jenkins Performance
For production environments:
Edit JVM options:
sudo nano /etc/default/jenkins
Example optimization:
JAVA_ARGS="-Xms512m -Xmx2048m"
Restart Jenkins:
sudo systemctl restart jenkins
Memory allocation depends on build workload.
Step 10: Verify Jenkins is Working
Create a simple test job:
- Click New Item
- Select Freestyle project
Add simple shell build step:
echo "Jenkins installation successful"
Run build and verify console output.
Conclusion
Installing Jenkins on Debian 13 is straightforward when following the official repository method and proper security practices.
With Java 21, secure repository setup, firewall configuration, reverse proxy, and HTTPS enabled, Jenkins becomes a production-ready automation server capable of handling modern CI/CD workflows.
