
Learn how to install and use Portainer on Ubuntu 24.04 to manage Docker containers easily through a web-based GUI.
If we’re managing Docker containers regularly, we know how complex command-line interfaces can get. That’s where Portainer comes in—a lightweight, web-based management UI that simplifies our entire Docker workflow. Whether we're beginners or advanced users, Portainer makes it incredibly easy to monitor, manage, and troubleshoot Docker containers, images, networks, and volumes from a clean browser interface.
What is Portainer?
Portainer is a lightweight, web-based management interface designed to simplify working with Docker, Docker Swarm, and Kubernetes environments. It provides an intuitive Graphical User Interface (GUI) that allows us to manage containers, images, volumes, networks, and more—without having to rely solely on complex command-line operations.
Portainer acts as a control panel for containerized infrastructure, giving developers, sysadmins, and DevOps teams a centralized place to monitor and operate Docker or Kubernetes setups from anywhere.
Prerequisites
Before we begin, let’s ensure we have the following in place:
- A Ubuntu 24.04 dedicated server or KVM VPS.
- A basic programming knowledge.
- A domain name pointing to server IP.
How to Install and Use Portainer on Ubuntu 24.04 for Simple Docker Container Management
Step 1: Update the System
Let’s begin by ensuring our system is up to date. Run the following commands:
sudo apt update && sudo apt upgrade -y
This keeps our server secure and ready for any new dependencies required by Docker or Portainer.
Step 2: Install Docker on Ubuntu 24.04
If Docker isn't installed yet, we need to set it up.
sudo apt-get install ca-certificates curl
sudo install -m 0755 -d /etc/apt/keyrings
sudo curl -fsSL https://download.docker.com/linux/ubuntu/gpg -o /etc/apt/keyrings/docker.asc
sudo chmod a+r /etc/apt/keyrings/docker.asc
Add the repository to Apt sources:
echo \
  "deb [arch=$(dpkg --print-architecture) signed-by=/etc/apt/keyrings/docker.asc] https://download.docker.com/linux/ubuntu \
  $(. /etc/os-release && echo "${UBUNTU_CODENAME:-$VERSION_CODENAME}") stable" | \
  sudo tee /etc/apt/sources.list.d/docker.list > /dev/null
sudo apt-get update
To install the latest version, run:
sudo apt-get install docker-ce
Enable and start the Docker service:
sudo systemctl enable docker
sudo systemctl start docker
Verify Docker is running:
docker --version
Step 3: Create a Docker Volume for Portainer Data
Portainer stores its data in a volume. Let’s create it:
docker volume create portainer_data
This volume will persist Portainer configurations and settings even after we restart or remove the container.
Step 4: Deploy Portainer with Docker
Now we’ll use Docker to pull and run the Portainer container. This command will run Portainer in detached mode and map the required ports:
docker run -d \
  -p 8000:8000 \
  -p 9443:9443 \
  --name portainer \
  --restart=always \
  -v /var/run/docker.sock:/var/run/docker.sock \
  -v portainer_data:/data \
  portainer/portainer-ce:latest
Explanation of flags:
- -p 9443:9443: HTTPS web UI access
- -p 8000:8000: Agent communication port (not mandatory for local Docker use)
- --restart=always: Auto-starts Portainer on system reboot
- -v /var/run/docker.sock:/var/run/docker.sock: Grants Portainer access to our Docker daemon
- -v portainer_data:/data: Persists Portainer configuration
Step 5: Install and Configure Nginx on Ubuntu 24.04
sudo apt update
sudo apt install nginx -y
Once installed, make sure Nginx is running:
sudo systemctl enable nginx
sudo systemctl start nginx
We need to allow HTTP and HTTPS ports in the firewall:
sudo ufw allow 80,443/tcp
Create a config file:
sudo nano /etc/nginx/sites-available/portainer
Paste the following config (replace portainer.example.com with your real domain):
server {
    listen 80;
    server_name portainer.example.com;

    location / {
        proxy_pass https://localhost:9443;
        proxy_ssl_verify off;
        proxy_http_version 1.1;
        proxy_set_header Upgrade $http_upgrade;
        proxy_set_header Connection "upgrade";
        proxy_set_header Host $host;
        proxy_set_header X-Real-IP $remote_addr;
        proxy_set_header X-Forwarded-For $proxy_add_x_forwarded_for;
    }
}
Note: Replace portainer.example.com with your domain name.
Save and exit (CTRL+O, Enter, CTRL+X).
Enable the site:
sudo ln -s /etc/nginx/sites-available/portainer /etc/nginx/sites-enabled/
sudo nginx -t
sudo systemctl reload nginx
Step 6: Install Certbot for Let's Encrypt SSL
Install Certbot and the Nginx plugin:
sudo apt install certbot python3-certbot-nginx -y
Obtain and Install SSL Certificate via Certbot
Run the Certbot Nginx plugin:
sudo certbot --nginx -d portainer.example.com
If successful, Certbot will automatically reload Nginx with SSL.
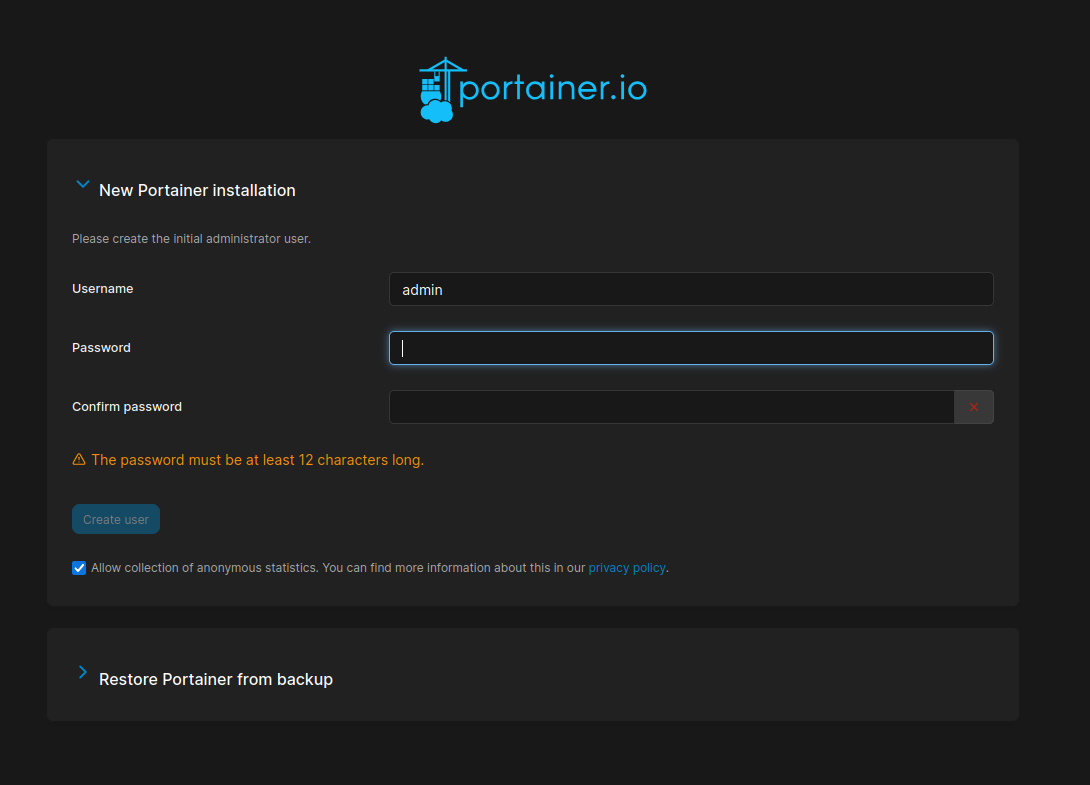
Step 7: Set Up the Admin Account
Navigate to you broswer and access
https://portainer.example.com
If it ask to reload the Portainer container, follow these steps:
Check the Docker container ID:
sudo docker ps
Now, restart the container:
sudo docker restart <container ID>
On our first login, Portainer will prompt us to create an admin user. Choose a strong password and continue.
Next, we’ll be asked to select a Docker environment:
Choose "Local" if Portainer is running on the same machine as Docker.
Click "Connect".
That's it! We now have a complete visual interface to manage all Docker components.
Step 8: Explore Portainer Features
With Portainer running, here’s what we can do:
- Manage Containers: Create, start, stop, restart, or delete containers with a few clicks.
- Image Management: Pull images from Docker Hub or private registries.
- Network & Volume Monitoring: Create and visualize Docker networks and volumes.
- Stack Deployment: Use Docker Compose files directly from the GUI.
- Role-Based Access Control (RBAC): Control who can do what (available in Portainer Business Edition).
Step 9: Keep Portainer Updated
To update Portainer to the latest version:
docker pull portainer/portainer-ce:latest
docker stop portainer
docker rm portainer
docker run -d \
  -p 8000:8000 \
  -p 9443:9443 \
  --name portainer \
  --restart=always \
  -v /var/run/docker.sock:/var/run/docker.sock \
  -v portainer_data:/data \
  portainer/portainer-ce:latest
We use the same command as in Step 4 to ensure all settings remain intact via the volume.
Final Thoughts
Portainer is the easiest way to control Docker with minimal effort. For teams running multiple containers or experimenting with microservices, Portainer adds visibility and control that the CLI alone can’t provide.
We highly recommend Portainer for:
- Local and remote Docker deployments
- Simplifying DevOps workflows
- Teams managing multiple environments
With Ubuntu 24.04 as our foundation, Portainer runs smoothly, securely, and efficiently. As our container infrastructure grows, Portainer becomes an essential part of our DevOps toolkit.
