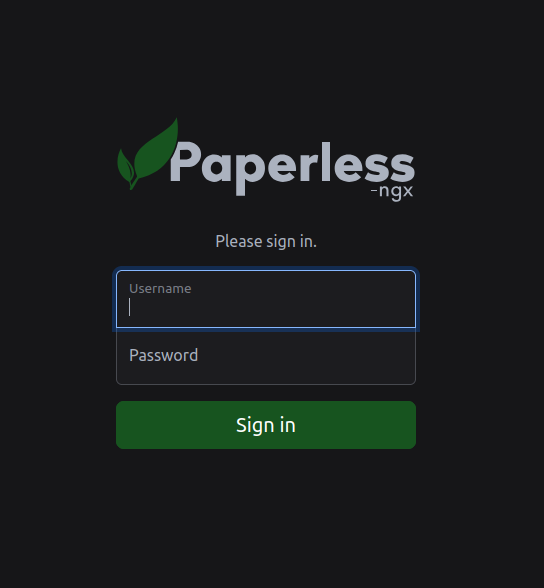
In this tutorial, we'll learn how to installl Paperless-ngx on Ubuntu 24.04 server with Nginx and SSL.
It's great to see a growing interest in digital document management! Paperless-ngx is an excellent open-source solution that helps us tackle the ever-growing piles of physical documents. This guide will walk us through setting up Paperless-ngx on Ubuntu 24.04, transforming our approach to document archiving and making our lives a lot more organized.
Why Paperless-ngx?
Before we dive into the technicalities, let's understand why Paperless-ngx is a game-changer:
Go Paperless, Truly: It enables us to digitize physical documents, reduce clutter, and simplify record-keeping.
Powerful OCR: Paperless-ngx uses Optical Character Recognition (OCR) to make scanned documents fully searchable. No more sifting through stacks to find that one invoice!
Smart Organization: With machine learning, it automatically tags, categorizes, and assigns correspondents and document types, saving us immense time.
Centralized & Secure: All our documents are stored in a single, secure location on our server, giving us complete control over our data.
Automation: We can set up rules to automatically process incoming documents, whether from a scanner, email, or digital uploads.
Multi-user Support: It offers robust user and permission management, making it suitable for both personal and small business use.
Open Source: Being open-source, it's free to use, highly customizable, and benefits from a vibrant community of developers.
Now, let's get started with the installation and setup.
Step-by-Step Guide to Install Paperless-ngx on Ubuntu 24.04
For the most robust and maintainable installation of Paperless-ngx, especially on a server, we recommend using Docker and Docker Compose. This method encapsulates Paperless-ngx and its dependencies, making upgrades and management far simpler.
Prerequisites
To embark on this journey, we'll need a few things:
- An Ubuntu 24.04 LTS dedicate server or KVM VPS
- Root or Sudo Privileges
- A Domain name pointing A record to server IP
- Basic Command Line Knowledge
Step 1: Update Our System
First, let's ensure our system is up to date. Open a terminal and run:
sudo apt update && sudo apt upgrade -y
This command fetches the latest package information and upgrades all installed packages to their newest versions.
Step 2: Install Docker and Docker Compose
Paperless-ngx relies on Docker for containerization. We'll install Docker Engine and Docker Compose.
Add Docker's official GPG key:
sudo apt-get install ca-certificates curl
sudo install -m 0755 -d /etc/apt/keyrings
sudo curl -fsSL https://download.docker.com/linux/ubuntu/gpg -o /etc/apt/keyrings/docker.asc
sudo chmod a+r /etc/apt/keyrings/docker.asc
Add the repository to Apt sources:
echo \
"deb [arch=$(dpkg --print-architecture) signed-by=/etc/apt/keyrings/docker.asc] https://download.docker.com/linux/ubuntu \
$(. /etc/os-release && echo "${UBUNTU_CODENAME:-$VERSION_CODENAME}") stable" | \
sudo tee /etc/apt/sources.list.d/docker.list > /dev/null
sudo apt-get update
Install Docker Compose:
sudo apt-get install docker-ce
sudo usermod -aG docker ${USER}
Test installations:
docker --version
Step 3: Install Paperless-ngx
Download and run the installation script:
bash -c "$(curl --location --silent --show-error https://raw.githubusercontent.com/paperless-ngx/paperless-ngx/main
Note: Enter URL with sxample: https://paperless.example.com like URL []: https://paperless.example.com
Troubleshooting
If you get error like permission denied while trying to connect to the Docker daemon socket, you need to exit the terminal and again login into server.
Step 4: Create a Superuser
After the containers are up and running, we need to create an administrator user to log into the Paperless-ngx web interface.
docker compose exec webserver python3 manage.py createsuperuser
Step 5: Configure Nginx as a Reverse Proxy
We'll use Nginx to sit in front of Paperless-ngx. Nginx will handle incoming web requests on standard HTTP (port 80) and HTTPS (port 443), and then forward them to Paperless-ngx's Docker container, which is running on port 8000. This also prepares us for SSL.
Install Nginx
If Nginx isn't already installed, let's install it:
sudo apt install nginx -y
Configure Nginx for Paperless-ngx
We need to create a new Nginx server block configuration file for our Paperless-ngx instance.
sudo nano /etc/nginx/sites-available/paperless.conf
Paste the following configuration. Remember to replace paperless.example.com with our domain name.
server {
    listen 80;
    listen [::]:80;
    server_name paperless.example.com; # Add our domain name here

    location / {
        proxy_pass http://localhost:8000; # Paperless-ngx runs on port 8000 inside the Docker network
        proxy_set_header Host $host;
        proxy_set_header X-Real-IP $remote_addr;
        proxy_set_header X-Forwarded-For $proxy_add_x_forwarded_for;
        proxy_set_header X-Forwarded-Proto $scheme;
        proxy_http_version 1.1;
        proxy_set_header Upgrade $http_upgrade;
        proxy_set_header Connection "upgrade";
        proxy_read_timeout 900s; # Adjust if large documents time out
    }
}
Enable the Nginx Configuration
Create a symbolic link to enable our new configuration:
sudo ln -s /etc/nginx/sites-available/paperless.conf /etc/nginx/sites-enabled/
Test the Nginx configuration for syntax errors:
sudo nginx -t
If the output says syntax is ok and test is successful, we can restart Nginx:
sudo systemctl restart nginx
Step 6: Secure with SSL using Certbot (Let's Encrypt)
Now that Nginx is acting as a reverse proxy, we can easily set up free SSL certificates from Let's Encrypt using Certbot.
Install Certbot
sudo apt install certbot python3-certbot-nginx -y
Obtain and Configure SSL Certificate
Run Certbot to obtain the certificate and configure Nginx automatically. Replace paperless.example.com with our domain name:
sudo certbot --nginx -d paperless.example.com
Step 7: Access the Web Interface
Paperless-ngx should now be accessible. Open our web browser and navigate to:
https://paperless.example.com

Use the username and password you have created at step 4.
Conclusion
Paperless-ngx on Ubuntu 24.04 provides a powerful and flexible solution for digital document archiving and management. By following these steps, we can take control of our paperwork, enhance our organizational efficiency, and ensure our important documents are always at our fingertips, searchable, and secure.
Embracing a paperless workflow is a significant step towards a more organized and efficient life, and Paperless-ngx is an excellent tool to help us achieve that.

