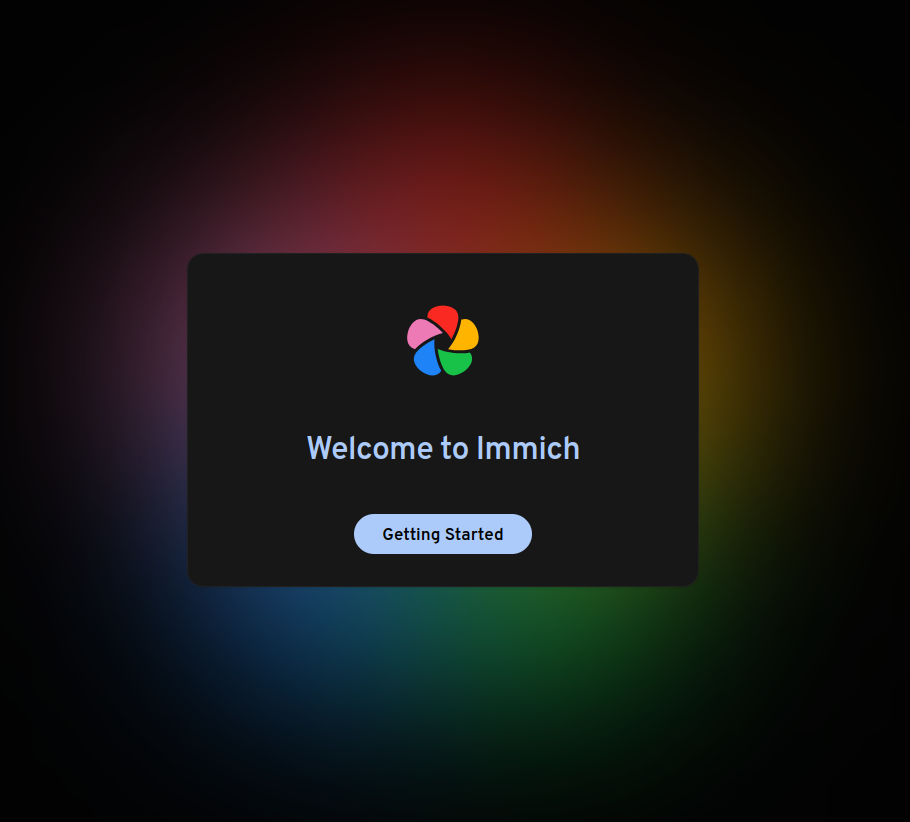
Learn how to set up a private photo management system using Immich on Ubuntu 24.04 with Docker and Nginx.
Managing personal photos in the digital age is about more than storage—it's about privacy, speed, and convenience. With Immich, we get a self-hosted photo and video management system with AI-powered features like facial recognition, automatic categorization, and blazing-fast browsing. In this guide, we’ll show how to deploy Immich on Ubuntu 24.04 using Docker, and securely expose it using Nginx and HTTPS with a custom domain.
What is Immich?
Immich is a modern, self-hosted photo and video backup solution designed to be a private alternative to Google Photos. Built with performance in mind, Immich uses AI-powered features like facial recognition, object detection, and location clustering to help us organize and search our media. It supports automatic mobile uploads, timeline views, and multi-user access—all while keeping our data fully under our control, on our own server.
Let’s build our private, modern alternative to Google Photos—step by step.
Prerequisites
Before we begin, let’s ensure we have the following in place:
- A Ubuntu 24.04 dedicated server or KVM VPS.
- A basic programming knowledge.
- A domain name pointing to server IP.
Set Up Immich on Ubuntu 24.04 with Docker and Nginx – Private Photo Gallery
Step 1: Update Ubuntu 24.04 Server
First, we make sure everything is up to date:
sudo apt update && sudo apt upgrade -y
This ensures compatibility and security for upcoming installations.
Step 2: Install Docker and Docker Compose
Immich runs in containers, so we install Docker first:
sudo apt-get update
sudo apt-get install ca-certificates curl
sudo install -m 0755 -d /etc/apt/keyrings
sudo curl -fsSL https://download.docker.com/linux/ubuntu/gpg -o /etc/apt/keyrings/docker.asc
sudo chmod a+r /etc/apt/keyrings/docker.asc

# Add the repository to Apt sources:
echo \
  "deb [arch=$(dpkg --print-architecture) signed-by=/etc/apt/keyrings/docker.asc] https://download.docker.com/linux/ubuntu \
  $(. /etc/os-release && echo "${UBUNTU_CODENAME:-$VERSION_CODENAME}") stable" | \
  sudo tee /etc/apt/sources.list.d/docker.list > /dev/null
sudo apt-get update
Install Docker using following command:
sudo apt-get install docker-ce
Verify the installation:
docker --version
Step 3: Create a Folder for Immich
Organize our setup in a dedicated folder:
mkdir ~/immich && cd ~/immich
Step 4: Clone the Immich Docker Setup
We’ll pull the official Docker configuration from GitHub:
wget -O docker-compose.yml https://github.com/immich-app/immich/releases/latest/download/docker-compose.yml
Pull the official .env example file:
wget -O .env https://github.com/immich-app/immich/releases/latest/download/example.env
Edit the .env file to modify default ports, upload locations, or database password:
nano .env
We recommend setting:
UPLOAD_LOCATION → e.g., /mnt/immich_uploads
IMMICH_SERVER_PORT → default 2283, can be changed
DB_PASSWORD → use a strong password
Save with CTRL+O, Enter, and exit with CTRL+X.
Step 5: Start Immich via Docker Compose
Spin up all the containers:
docker compose up -d
To confirm services are running:
docker ps
We should see containers for Immich server, Redis, PostgreSQL, machine learning, and image proxy.
Note: You need to wait for few minutes. It take few minutes to get start all containers.
Step 6: Install the Immich Mobile App (Optional)
For seamless uploads:
- Android: Google Play
- iOS: App Store
Sync directly from your phone to your private Immich server.
Step 7: Secure Immich with Nginx Reverse Proxy and HTTPS
If we want secure, global access with our own domain (e.g. photos.yourdomain.com), here’s how to do it.
Install Nginx and Certbot
sudo apt install nginx certbot python3-certbot-nginx -y
Allow Firewall Access
sudo ufw allow 'Nginx Full'
Create a New Nginx Config
sudo nano /etc/nginx/sites-available/immich
Paste the config below (replace the domain with yours):
server {
    listen 80;
    server_name photos.yourdomain.com;

    location / {
        proxy_pass http://localhost:2283;
        proxy_http_version 1.1;
        proxy_set_header Host $host;
        proxy_set_header X-Real-IP $remote_addr;
        proxy_set_header X-Forwarded-For $proxy_add_x_forwarded_for;
        proxy_set_header X-Forwarded-Proto $scheme;
    }
}
Save and exit.
Enable the Config
sudo ln -s /etc/nginx/sites-available/immich /etc/nginx/sites-enabled/
sudo nginx -t
sudo systemctl restart nginx
Point Domain to Server IP
Log in to your domain registrar’s dashboard and set an A record pointing photos.yourdomain.com to your server’s public IP address.
Enable HTTPS with Certbot
Once the DNS is set, run:
sudo certbot --nginx -d photos.yourdomain.com
Step 8: Access Immich Locally
Go to:
https://photos.yourdomain.com

Register an admin account. You can now upload photos and videos, search using AI tagging, and explore a beautiful timeline view.
Step 9: Auto-Start on Reboot
Ensure Immich auto-starts after server reboot:
sudo crontab -e
Add this line at the bottom:
@reboot cd /home/your-user/immich && /usr/bin/docker-compose up -d
Change /home/your-user/immich to your actual folder path.
Step 10: Backup & Maintenance
- Backup upload/ folder regularly (contains photos/videos)
- Use pg_dump to back up the PostgreSQL database
- Run docker system prune -f every few weeks to clean unused Docker resources
Final Words
With Immich installed on Ubuntu 24.04 and exposed via Nginx with HTTPS, we’ve created a secure, modern, and AI-powered alternative to Google Photos—all self-hosted and under our control.
We now own our memories without handing them to third-party clouds.

