
Learn how to install and use Portainer on AlmaLinux 10 to manage Docker containers easily through a web-based GUI.
If we’re managing Docker containers regularly, we know how complex command-line interfaces can get. That’s where Portainer comes in—a lightweight, web-based management UI that simplifies our entire Docker workflow. Whether we're beginners or advanced users, Portainer makes it incredibly easy to monitor, manage, and troubleshoot Docker containers, images, networks, and volumes from a clean browser interface.
What is Portainer?
Portainer is a lightweight, web-based management interface designed to simplify working with Docker, Docker Swarm, and Kubernetes environments. It provides an intuitive Graphical User Interface (GUI) that allows us to manage containers, images, volumes, networks, and more without having to rely solely on complex command-line operations.
Portainer acts as a control panel for containerized infrastructure, giving developers, sysadmins, and DevOps teams a centralized place to monitor and operate Docker or Kubernetes setups from anywhere.
Prerequisites
Before we begin, let’s ensure we have the following in place:
- A AlmaLinux 10 dedicated server or KVM VPS.
- A basic programming knowledge.
- A domain name pointing to server IP.
How to Install and Use Portainer on AlmaLinux 10 for Simple Docker Container Management
Step 1: Update Our System
Let’s begin by updating our AlmaLinux system to ensure we’re working with the latest packages.
sudo dnf update -y
sudo dnf install -y epel-release
Keeping our OS and packages up to date is a good security and stability practice before installing Docker and Portainer.
Step 2: Install Docker on AlmaLinux 10
If Docker is not installed, we’ll need it before we can install Portainer.
sudo dnf install -y dnf-plugins-core
sudo dnf config-manager --add-repo https://download.docker.com/linux/centos/docker-ce.repo
sudo dnf install -y docker-ce docker-ce-cli containerd.io docker-buildx-plugin docker-compose-plugin
Once installed, start and enable Docker:
sudo systemctl enable --now docker
Check Docker status to confirm it's running:
sudo systemctl status docker
Step 3: Create a Volume for Portainer Data
Portainer stores its data in a volume. Let’s create it:
docker volume create portainer_data
This ensures our Portainer configuration, containers, and settings are persisted even after reboots or container restarts.
Step 4: Deploy Portainer with Docker
Now, let’s pull and run the latest Portainer CE image using Docker:
docker run -d \
  -p 8000:8000 \
  -p 9443:9443 \
  --name=portainer \
  --restart=always \
  -v /var/run/docker.sock:/var/run/docker.sock \
  -v portainer_data:/data \
  portainer/portainer-ce:latest
Explanation:
- -p 9443:9443: Portainer’s web UI runs securely over HTTPS.
- -p 8000:8000: Optional agent communication.
- --restart=always: Restarts Portainer on failure or reboot.
- -v /var/run/docker.sock:/var/run/docker.sock: Allows Portainer to manage the local Docker engine.
- -v portainer_data:/data: Stores configuration persistently.
Step 5: Install Nginx
sudo dnf install -y nginx
sudo systemctl enable --now nginx
Make sure Nginx is active:
sudo systemctl status nginx
Create a file like /etc/nginx/conf.d/portainer.conf:
sudo nano /etc/nginx/conf.d/portainer.conf
Paste the following:
server {
    listen 80;
    server_name portainer.yourdomain.com;

    location / {
        proxy_pass https://localhost:9443;
        proxy_ssl_verify off;
        proxy_set_header Host $host;
        proxy_set_header X-Real-IP $remote_addr;
        proxy_set_header X-Forwarded-For $proxy_add_x_forwarded_for;
        proxy_set_header X-Forwarded-Proto $scheme;
    }
}
Replace portainer.yourdomain.com with your actual domain.
Then test the Nginx config:
sudo nginx -t
If successful:
sudo systemctl reload nginx
Step 6: Configure Firewall and SELinux
Let's add HTTP and HTTPS ports in the firewall.
firewall-cmd --add-port={80,443}/tcp --permanent
firewall-cmd --reload
Let's configure SELinux (If you have enabled)
sudo setsebool -P httpd_can_network_connect 1
Step 7: Install Certbot and Nginx Plugin
sudo dnf install -y certbot python3-certbot-nginx
This installs Certbot and the necessary plugin to automatically configure SSL with Nginx.
Now let’s use Certbot to get a free Let’s Encrypt SSL certificate:
sudo certbot --nginx -d portainer.yourdomain.com
Step 8: Access the Portainer Web Interface
Open your browser and visit:
https://portainer.yourdomain.com
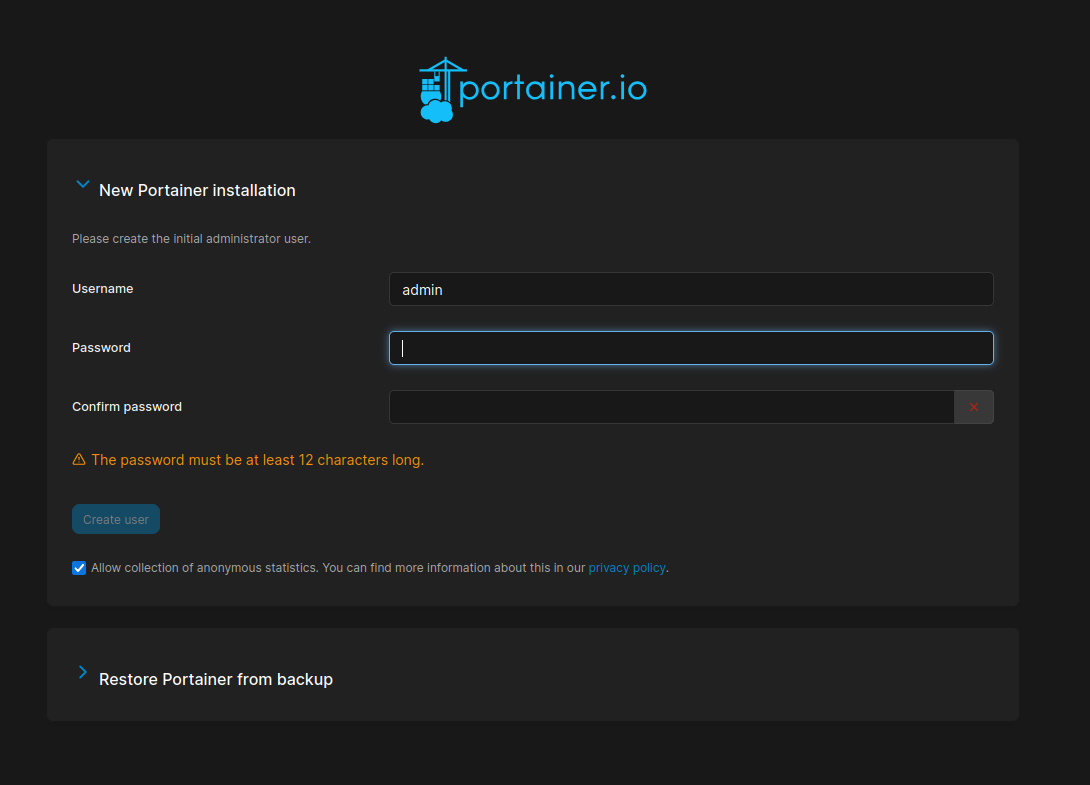
You’ll be prompted to set up an admin password. This is your main access credential, so choose a secure one.
Once inside, you’ll choose the Docker environment to manage. Select the local Docker environment to begin managing containers, images, networks, and more from the dashboard.
Step 9: Use Portainer to Manage Docker with Ease
Now that Portainer is installed, we can perform many Docker tasks directly from the web interface:
- View and start/stop containers
- Create and manage Docker volumes
- Manage networks and secrets
- Deploy stacks using Docker Compose
- Set up registries and templates
- Monitor resource usage
Portainer eliminates the need to memorize long Docker commands. For example, spinning up a container takes just a few clicks.
Final Thoughts
Portainer is one of the easiest ways to manage Docker on AlmaLinux 10. It’s especially useful for those of us who prefer intuitive UIs over command-line management, or for teams who want collaborative access to container environments.
By following this guide, we’ve:
- Installed Docker and Portainer on AlmaLinux 10
- Launched Portainer with persistent volume support
- Logged in securely via web browser to manage containers visually
This setup makes container management smoother, faster, and beginner-friendly—without sacrificing advanced control. For small businesses, developers, and sysadmins, Portainer is an essential tool for modern container operations.
