
Learn how to install, configure, and secure Syncthing with Nginx and SSL on Ubuntu 24.04 for private, self-hosted file synchronization across your devices.
In a world where privacy matters and cloud subscriptions pile up, many of us are turning to self-hosted file sync solutions. One of the best tools for this job is Syncthing—a secure, open-source, peer-to-peer synchronization service that works across devices without relying on third-party servers. In this guide, we’ll walk through setting up Syncthing on Ubuntu 24.04, step by step, so we can take full control over our data and file synchronization needs.
What is Syncthing?
Syncthing is a lightweight and powerful file sync tool that:
- Works without central servers
- Encrypts all traffic using TLS
- Authenticates devices via strong cryptographic IDs
- Runs on Linux, Windows, macOS, and mobile platforms
It’s ideal for securely syncing documents, codebases, media, or even large datasets between multiple computers or servers we own.
Prerequisites
Before we begin, let’s ensure we have the following in place:
- A Ubuntu 24.04 dedicated server or KVM VPS.
- A basic programming knowledge.
How to Set Up a Secure Self-Hosted File Sync Server Using Syncthing and Nginx on Ubuntu 24.04
Step 1: Update Our System
Let’s start by making sure our Ubuntu 24.04 system is up to date:
sudo apt update && sudo apt upgrade -y
Keeping our packages fresh reduces vulnerabilities and ensures we avoid conflicts during installation.
Step 2: Add the Syncthing Repository
While Syncthing can be installed via Snap or manually, using the official APT repository ensures we always get the latest stable builds directly from the source:
curl -s https://syncthing.net/release-key.txt | sudo gpg --dearmor -o /usr/share/keyrings/syncthing-archive-keyring.gpg
Now let’s add the Syncthing repo to our system:
echo "deb [signed-by=/usr/share/keyrings/syncthing-archive-keyring.gpg] https://apt.syncthing.net/ syncthing stable" | sudo tee /etc/apt/sources.list.d/syncthing.list
Then update package lists:
sudo apt update
Step 3: Install Syncthing
With the repo added, installing Syncthing is straightforward:
sudo apt install syncthing -y
To verify the installation:
syncthing --version
You should see the latest version of Syncthing confirmed in your terminal.
Step 4: Start Syncthing for the First Time
Before proceeding further we need to add Syncthing default port in the firewall:
sudo ufw allow 8384/tcp
For personal use, we typically run Syncthing under our user account. Start it with:
syncthing
Note: Once the command run successfully, look for config.xml file path and note it down. Later we need that file to edit.
Default config saved. Edit /root/.local/state/syncthing/config.xml to taste (with Syncthing stopped) or use the GUI
Stop the sysncthing by Ctrl+C
Now let's open config.xml file:
nano /root/.local/state/syncthing/config.xml
Find the line:
<address>127.0.0.1:8384</address>
Replace 127.0.0.1 with 0.0.0.0 to allow external access.
Save and exit the file.
Step 5: Enable Syncthing to Start Automatically
To ensure Syncthing runs on boot (even if we don’t log in), enable it as a systemd service:
systemctl --user enable syncthing.service
systemctl --user start syncthing.service
To verify it's active:
systemctl --user status syncthing.service
If we want Syncthing to keep running even after logout, we need to enable lingering for our user:
sudo loginctl enable-linger $USER
This keeps our background services running even when we're not logged in via GUI or SSH.
Now, navigate to your browser and access web interface.
http://<server_ip>:8384
Once you access web interface, you will find a Red GUI option. Here you need to create admin credentials [IMPORTANT].

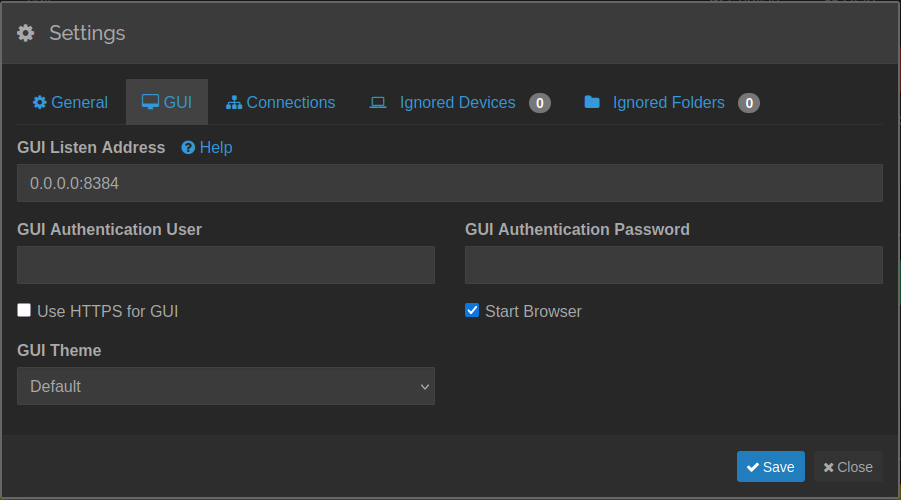
Click on settings button
Navigate backt to the terminal.
To improve security, change Syncthing’s GUI bind address to 127.0.0.1 in config.xml:
nano /root/.local/state/syncthing/config.xml
Replace 0.0.0.0 with 127.0.0.1.
<address>127.0.0.1:8384</address>
Also add following to disable host checks (not recommended for public servers) but we did find any other solution. Without add this it won't work. Add following below <address>127.0.0.1:8384</address>
<insecureSkipHostcheck>true</insecureSkipHostcheck>
Save and exit the file.
This ensures only local services (like Nginx) can access the Syncthing GUI directly.
Restart Syncthing:
systemctl --user restart syncthing.service
Step 6: Configure Nginx Reverse Proxy and Install SSL
Let’s set up Syncthing behind Nginx and secure it with a free SSL certificate using Certbot.
Install Nginx and Certbot
sudo apt update
sudo apt install nginx python3-certbot-nginx -y
Create a new config file in /etc/nginx/sites-available/:
sudo nano /etc/nginx/sites-available/syncthing
Paste the following configuration:
server {
    listen 80;
    server_name sync.yourdomain.com;

    location / {
        proxy_pass http://localhost:8384;
        proxy_set_header Host $host;
        proxy_set_header X-Real-IP $remote_addr;
        proxy_set_header X-Forwarded-For $proxy_add_x_forwarded_for;
        proxy_set_header X-Forwarded-Proto $scheme;
        proxy_http_version 1.1;
        proxy_buffering off;
    }
}
Replace sync.yourdomain.com with your actual subdomain.
Enable the config:
sudo ln -s /etc/nginx/sites-available/syncthing /etc/nginx/sites-enabled/
Test Nginx config:
sudo nginx -t
Reload Nginx:
sudo systemctl reload nginx
We need to add HTTP and HTTPS ports in the firewall.
ufw allow 80/tcp
ufw allow 443/tcp
Issue SSL Certificate with Certbot. Run this command to get an SSL cert:
sudo certbot --nginx -d sync.yourdomain.com
Step 7: Access the Web Interface Remotely
Navigate to your browser and access:
https://sync.yourdomain.com
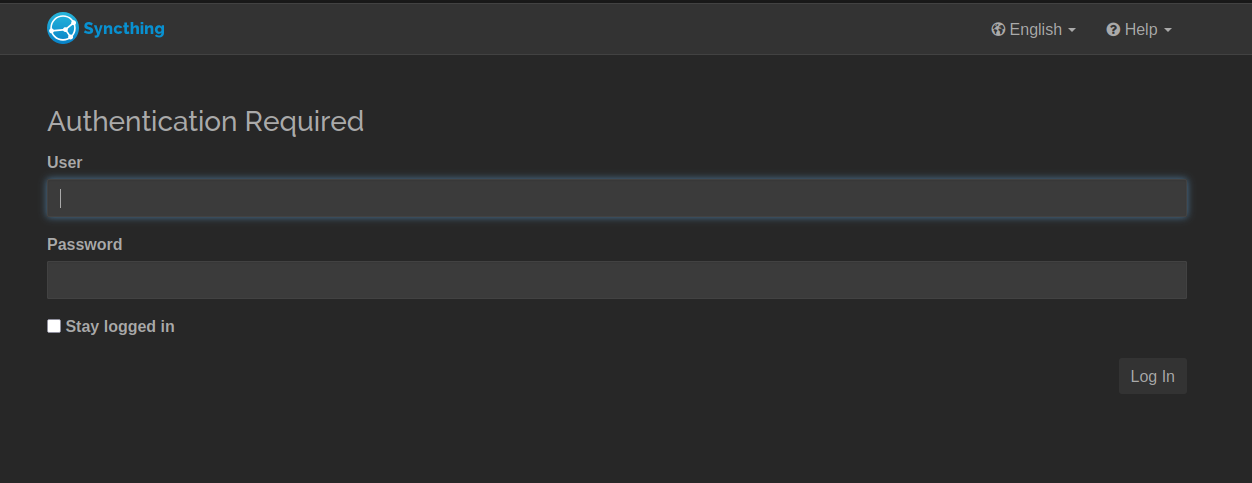
You will see the login page. Login with credetials that you have set in step 4.
Step 8: Add and Sync Devices
Once Syncthing is running on all your devices:
- Open the GUI on each
- Copy the Device ID (Settings > Show ID)
- Add each device to the other’s Syncthing UI under Add Remote Device
- Choose which folders to sync
- Approve folder shares on both ends
This peer-to-peer setup ensures our devices talk only to each other—no cloud involved.
Step 9: Secure Our Syncthing Setup
To keep things safe and clean:
- Enable HTTPS for the GUI
- Set a GUI username and password
- Use firewall rules (UFW, iptables, etc.) to limit external access
- Back up the ~/.config/syncthing folder regularly
Step 10: Automate Syncthing Folder Creation (Optional)
We can pre-create shared folders using the configuration file or scripting, which is helpful when managing multiple systems or headless setups.
Example to create a shared folder config block via script:
syncthing --generate="my_config"
Then edit my_config/config.xml and move it into ~/.config/syncthing/.
Step 11: Monitor and Maintain
Syncthing includes a built-in Updater that checks for new versions. For stability:
- Regularly visit the web UI
- Check logs under ~/.config/syncthing/index-v0.14.0.db
- Use the Syncthing CLI: syncthing cli for advanced operations
Why Use Syncthing Over Dropbox/Google Drive?
- Full control over data flow
- Zero dependency on cloud vendors
- No storage limits other than our own disk
- Open-source and actively maintained
- Works across all platforms without account lock-in
Final Thoughts
By setting up Syncthing on Ubuntu 24.04, we’ve built a private cloud that syncs automatically and securely across devices—without ever sending data to a third party. Whether we’re syncing files between workstations, backing up laptops to a home server, or collaborating across machines, Syncthing offers freedom and transparency that proprietary services can’t match.
This kind of project not only boosts our digital independence but also helps us learn how peer-to-peer, encrypted systems work under the hood. For professionals, developers, and privacy-conscious users, Syncthing is a no-brainer.
