
In this tutorial, we shall explain how install Webmin on AlmaLinux 9.
Webmin is a powerful web-based control panel that allows you to manage various aspects of your server, such as user accounts, DNS, firewall, databases, and more through a simple web interface. This guide will walk you through installing Webmin on AlmaLinux 9, configuring it for secure access, and managing your server via the Webmin interface.
Prerequisites
- A server running AlmaLinux 9 dedicated server or KVM VPS.
- A root or non-root user with sudo privileges.
- A domain name pointing to your server’s IP address.
- Basic knowledge of the command line and Linux administration.
Install Webmin on AlmaLinux 9
Step 1: Update Your System
Before installing Webmin, it's essential to update your system to ensure all packages are up-to-date.
sudo dnf update -y
Step 2: Install Necessary Dependencies
Webmin requires certain dependencies to run properly. Install them using the following command:
sudo dnf install epel-release
sudo dnf config-manager --set-enabled crb
sudo dnf install perl-IO-Tty -y
Step 3: Install Webmin
The simplest and best way to get Webmin is to use automatic setup-repos.sh script. It can be done in two easy steps:
curl -o setup-repos.sh https://raw.githubusercontent.com/webmin/webmin/master/setup-repos.sh
sh setup-repos.sh
After the installation is complete, Webmin should automatically start. You can check its status by running:
sudo systemctl status webmin
To enable Webmin to start on boot, use the following command:
sudo systemctl enable webmin
Step 4: Install and Configure Nginx
If Nginx is not already installed on your AlmaLinux server, install it using the following command:
sudo dnf install nginx -y
Once installed, start and enable Nginx:
sudo systemctl start nginx
sudo systemctl enable nginx
Configure Nginx as a Reverse Proxy for Webmin
Create an Nginx configuration file for Webmin:
sudo nano /etc/nginx/conf.d/webmin.conf
Add the following configuration:
Replace webmin.example.com with your actual domain name.
server {
    listen 80;
    server_name webmin.example.com;

    location / {
        proxy_pass https://localhost:10000;
        proxy_set_header Host $host;
        proxy_set_header X-Real-IP $remote_addr;
        proxy_set_header X-Forwarded-For $proxy_add_x_forwarded_for;
        proxy_set_header X-Forwarded-Proto $scheme;
    }
}
This configuration does the following:
- Sets up Nginx to listen on port 80 for your domain webmin.example.com.
- Proxies all requests to https://localhost:10000 where Webmin is running.
Save the file and exit.
Configure Firewall for Nginx. Since Nginx will now handle HTTP/HTTPS traffic, ensure the firewall allows traffic on ports 80 and 443.
Allow HTTP and HTTPS through the firewall:
sudo firewall-cmd --permanent --add-service=http
sudo firewall-cmd --permanent --add-service=https
Reload the firewall to apply the changes:
sudo firewall-cmd --reload
Step 5: Install Certbot for Let's Encrypt SSL
Certbot is a tool that allows you to easily obtain and manage SSL certificates from Let's Encrypt.
Install Certbot and the Nginx plugin (even if you’re not using Nginx, Certbot uses this plugin for SSL installation):
sudo dnf install certbot python3-certbot-nginx
Next, you need to obtain an SSL certificate for your domain using Certbot to ensure secure access via HTTPS.
Use Certbot to generate an SSL certificate for your domain:
sudo certbot --nginx -d webmin.example.com
Certbot will automatically modify your Nginx configuration to use the SSL certificate and handle automatic renewal.
Step 6: Access Webmin
You should now be able to access Webmin via your domain without specifying port 10000. Just go to:
https://webmin.example.com
Nginx will handle the proxying, and the connection will be encrypted with the SSL certificate.
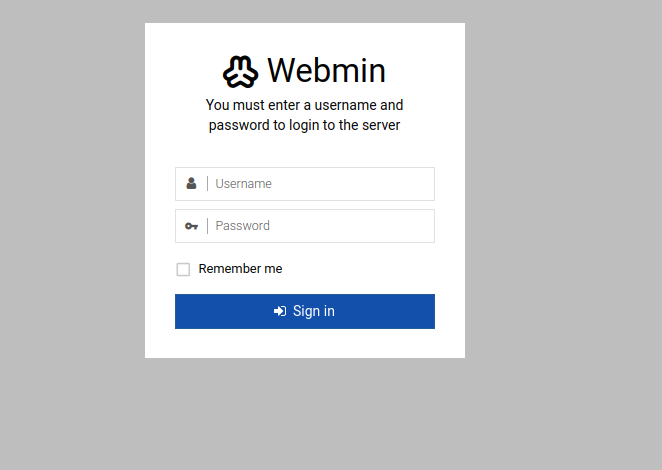
Log In to Webmin
On the Webmin login page, use your root credentials to log in. If you’ve disabled root login for security reasons, use your sudo user credentials.
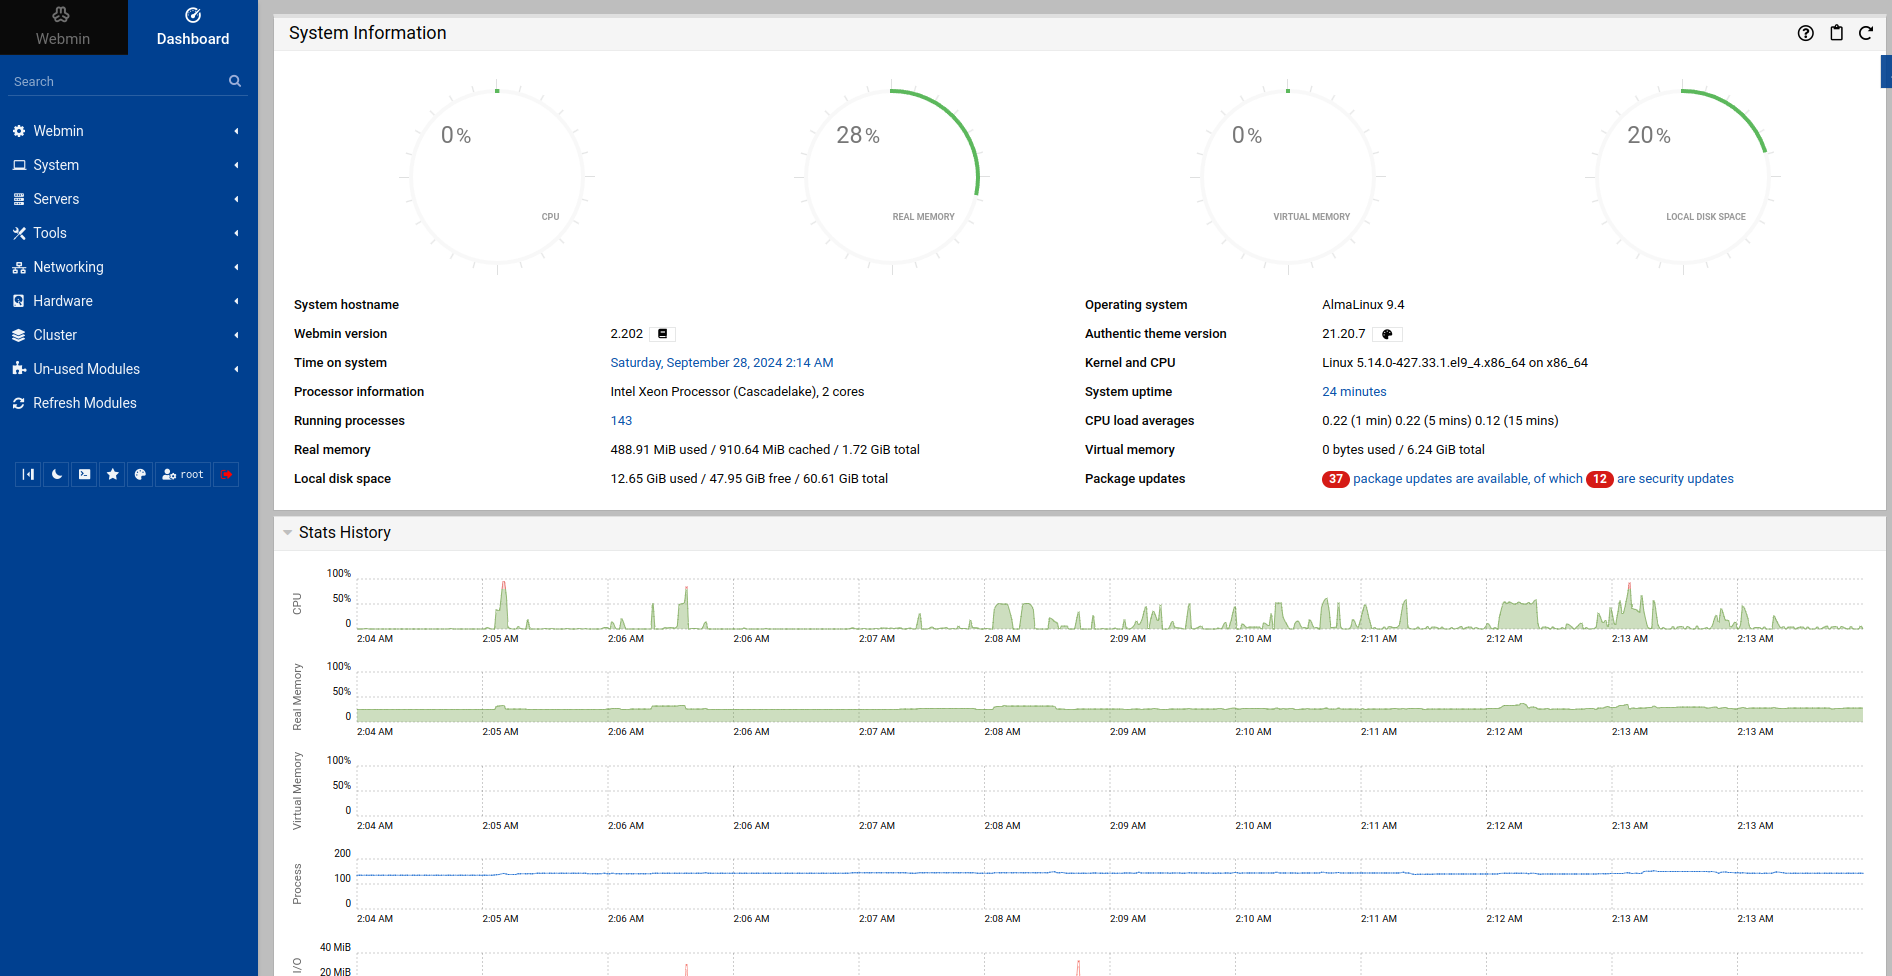
After login it will redirect to dashboard:
Step 7: Using Webmin for Server Management
Webmin provides a graphical interface for managing various server tasks:
Managing Users and Groups:
Navigate to System > Users and Groups to add or modify users and groups on your server.
Package Management:
Go to System > Software Packages to install or remove software packages on your system.
Firewall Management:
Under Networking > Linux Firewall, you can manage your server’s firewall settings.
Monitor System Logs:
View logs in System > System Logs to monitor various server activities like login attempts, service failures, etc.
Manage Services:
Navigate to System > Bootup and Shutdown to control which services start at boot or to start/stop individual services.
Conclusion
You've successfully seen how install Webmin on AlmaLinux 9 server. With Webmin, you now have a user-friendly, web-based interface to manage your server more efficiently. By using Certbot to obtain a Let's Encrypt certificate, you ensure that your Webmin instance is encrypted and accessible via HTTPS. Ensure that Webmin is secured by changing the default port, enabling two-factor authentication, and maintaining your firewall settings.
